Posted in Collision: the work begins, embrilting, in progress, mordants and modifiers, Natural Dyes

building parts

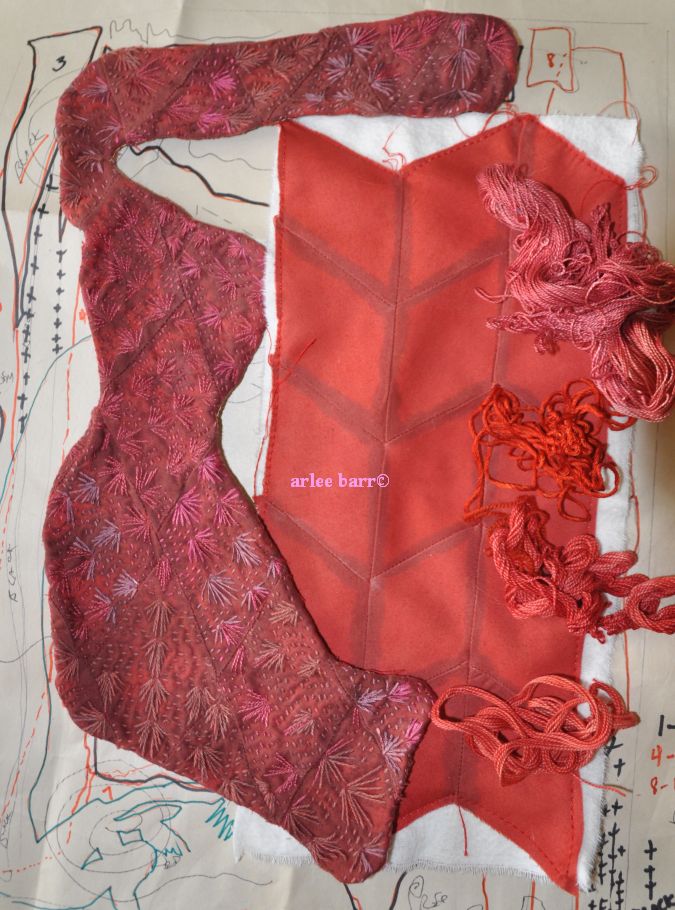
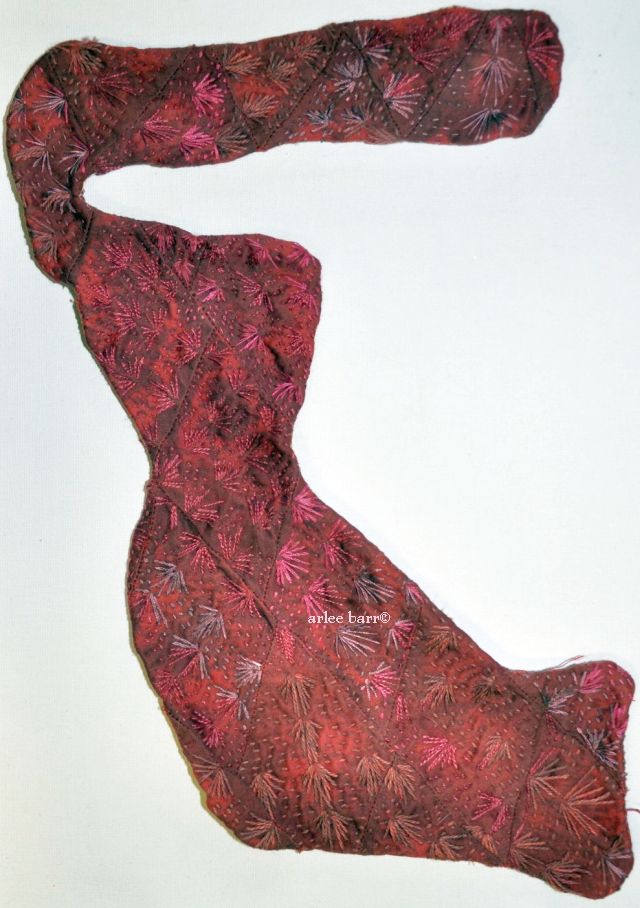
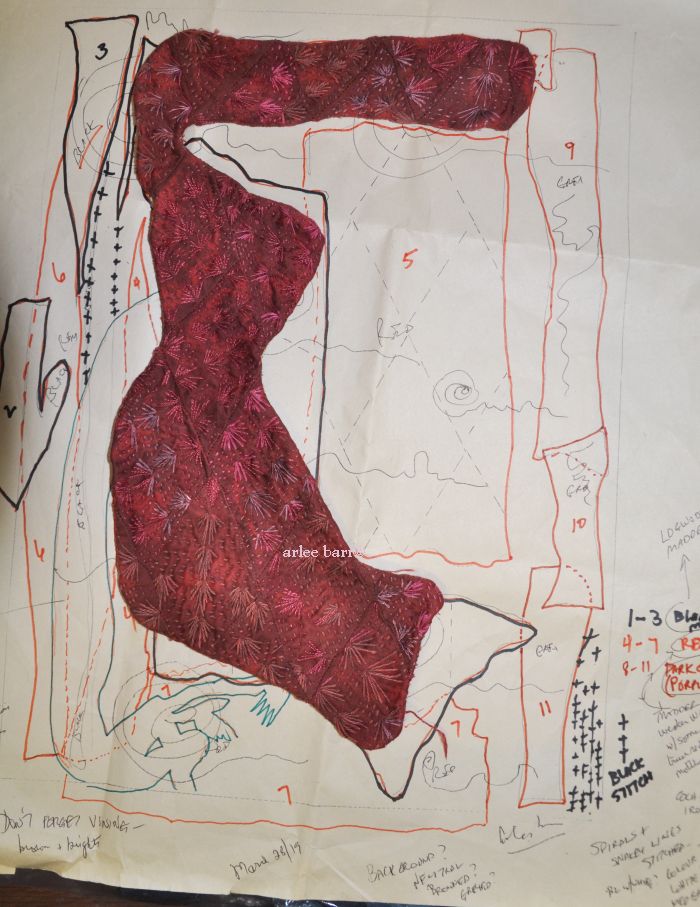
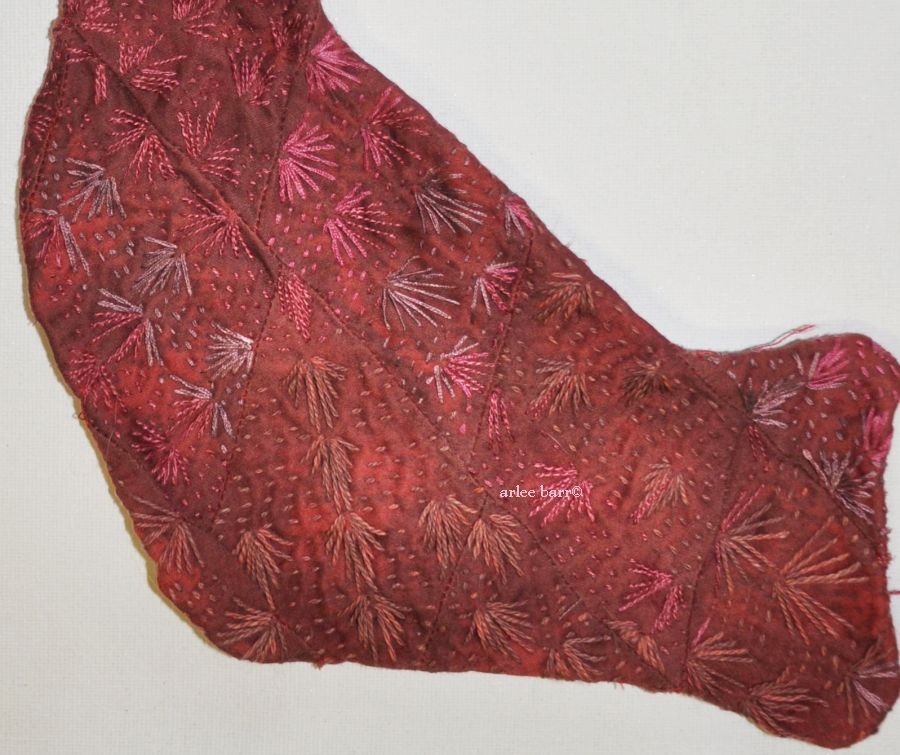
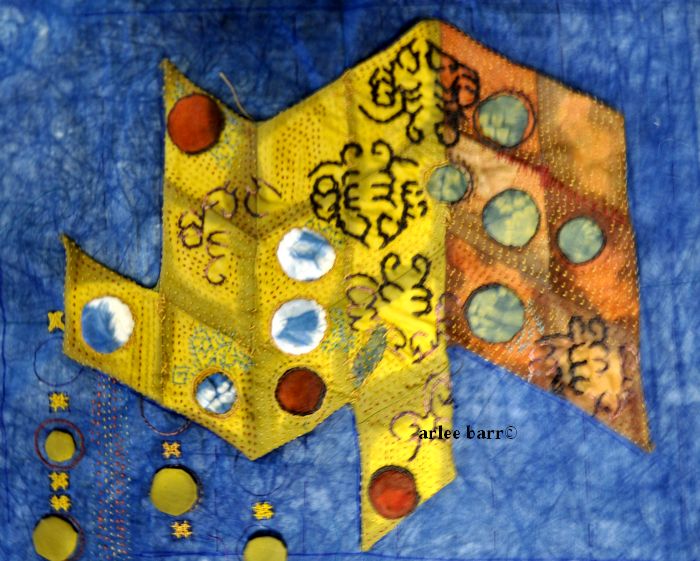
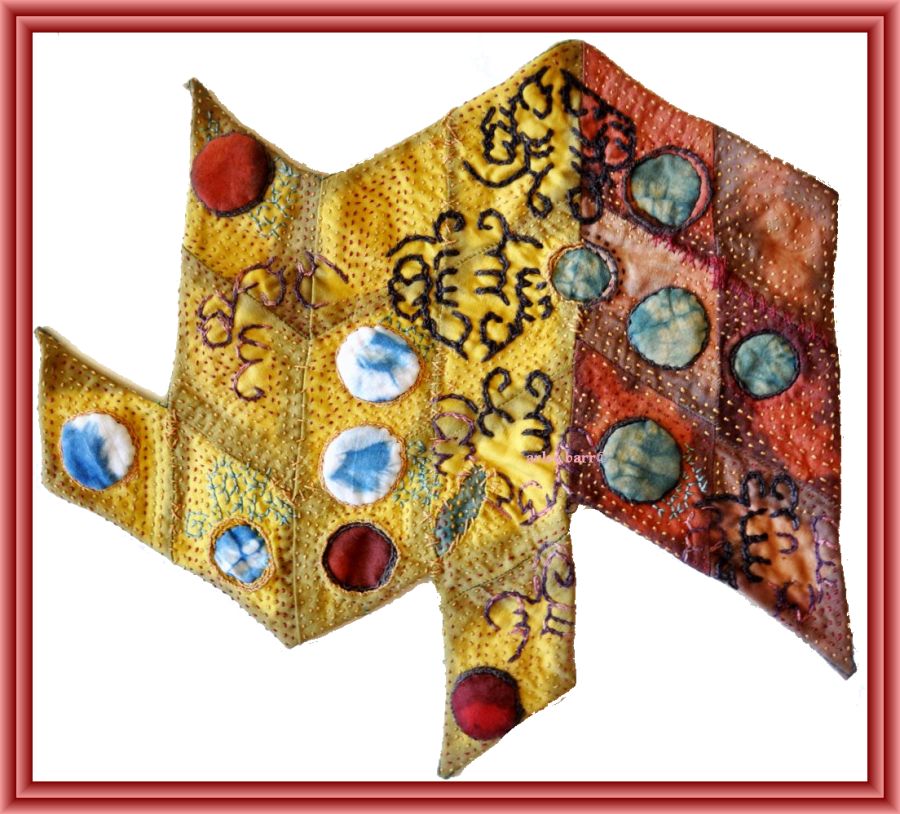
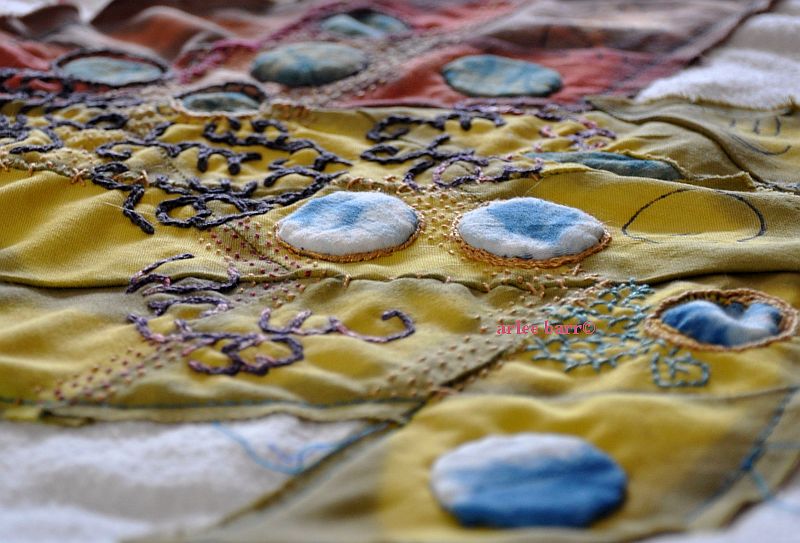
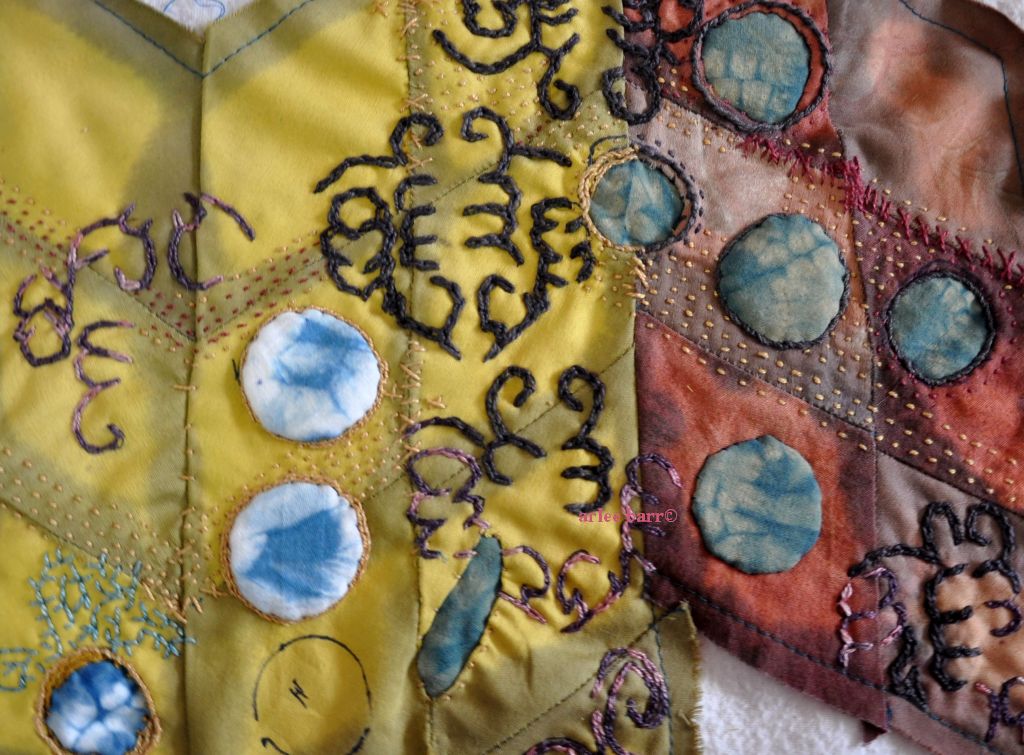
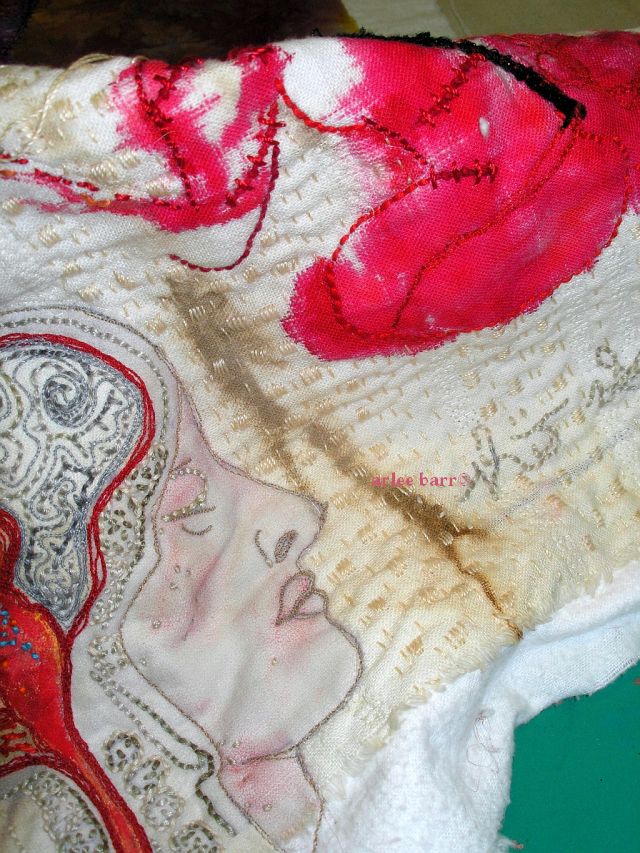
Above, the first section completed. You can see the big difference on that worked section that the iron post modification made on the clear red of the original madder. (Post mod was done before stitching with quebracho rojo, cochineal and madder on silk and cotton threads.)

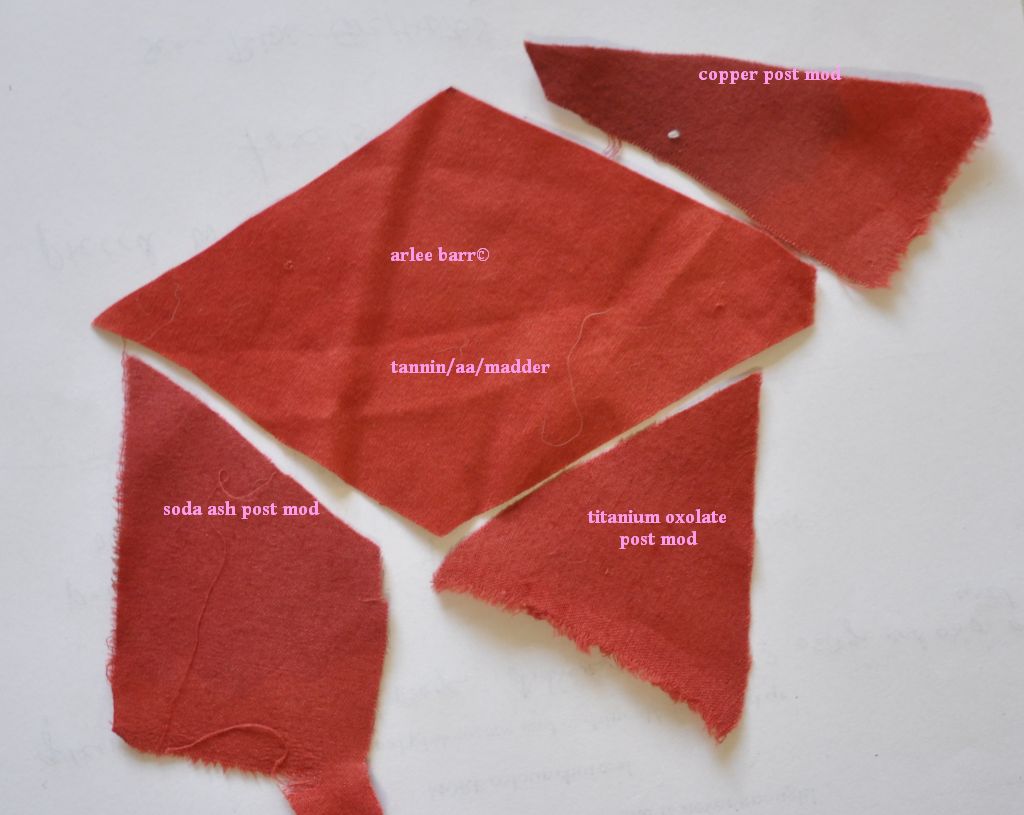
While i want the next section i’m working on to be a truer red, i want some nuance as well to riff the threads off. I tried post mods of soda ash, titanium oxolate and copper.

The soda ash dulled the red, the TO made it slightly orangey, and the copper, while darker and similar to the iron used before, is more what i wanted.

Though the lines are “obvious”, the threads chosen will soften the harder edges. Three shades of madder on cotton, silk and cotton, and a sandalwood on cotton should start me nicely.

I do have yet to decide which stitches i will use. I don’t want it as tightly massed as the finished section, but not really “open” and loose either.

Back to my Stitchionary for perusal and tests.

Posted in Collision: the work begins, embrilting, in progress, Natural Dyes, Naturally dyed threads

don’t set it in stone

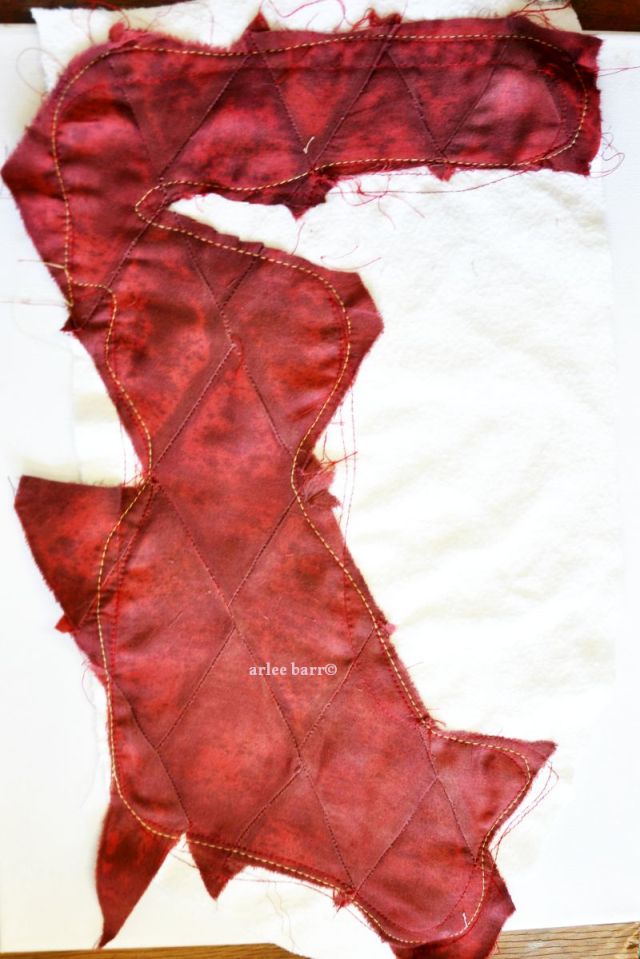
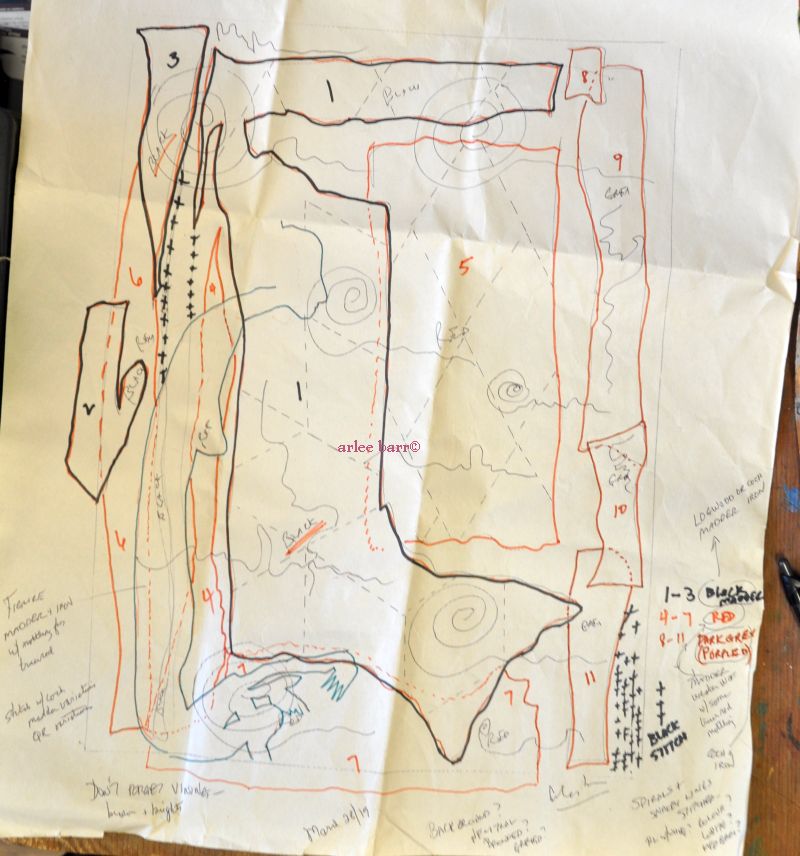
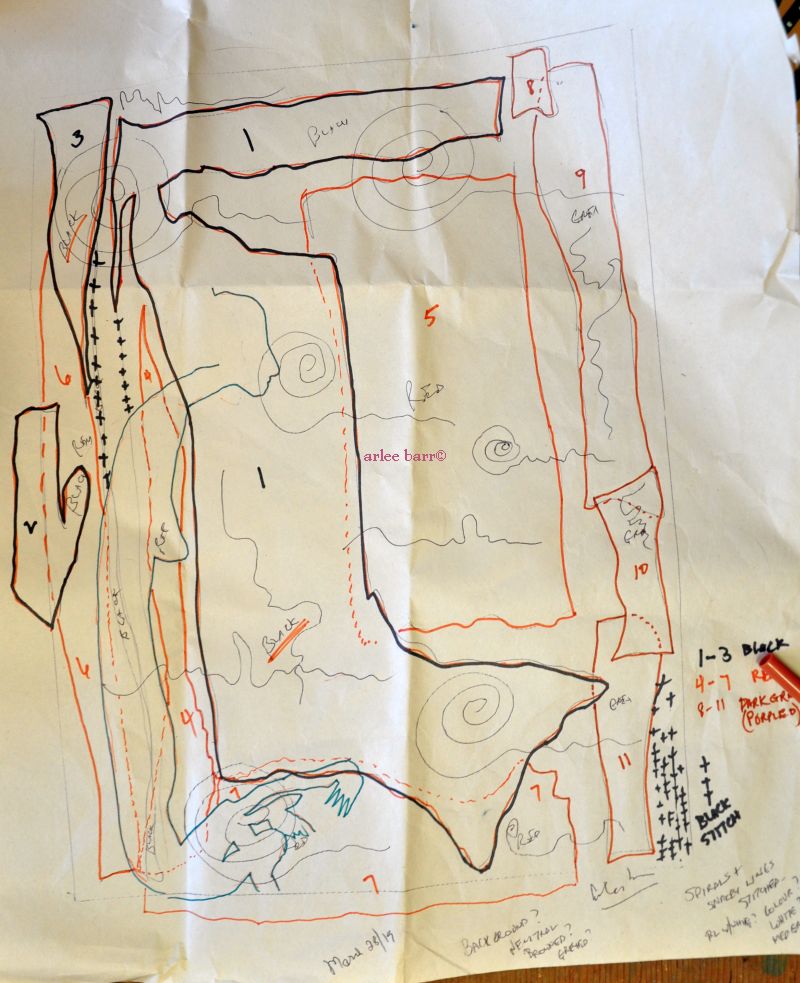
I’m not sure who snuck into my studio the day i pieced this section and made it a different shape than “the plan”.  Doesn’t matter though, a plan is just a piece of paper, the work is what counts.

As i worked this, i also wondered if i had made myself extra work by piecing it first: does it matter that it’s many sections? Could i have done it as one piece which would have necessitated more marking, so maybe the same or more work to begin with anyways? From a distance, the diamonds don’t register as separate chunks. Would i feel as gratified if i had used one larger piece, that might have been closer to the original shape?

Does it make any difference in the end? If i had left the diamond shapes obvious around the edges, as i did this piece, maybe. Something to consider for future work. Should square pegs be forced into round holes? Reminds me of some ecoprint work that is COVERED in embroidery–well, now you can’t see the ecoprint, so wtf was the point of using it? Work with something, not against or despite it.

I could do this again, with smaller pieces and see if the rougher edges work. Mock up first, before i commit.

PS My quebracho rojo threads ran out, so i also used madder post modified with iron, dark cochineal, and a qr overdyed on bad lichen ( 🙂 )

Posted in embrilting, journal: lessons to learn, Naturally dyed threads, Stitches

first stitches, mixing it up

I continue to study the embroidery stitches used on Central Asian textiles, but the other day while consulting Dr Google, i found this:

(Source, sold item on eBay) This is actually Swedish Huck “weaving”, a form of counted thread embroidery primarily used on household linens. Some of it looks very intricate, but is actually wonderful combinations of colour and simple line. (TIP: search huck weaving, rather than huck stitch.) Since the primary reason for looking at the CA embroideries was to learn new stitches, and new approaches, this still ties in nicely with expanding the repertoire.

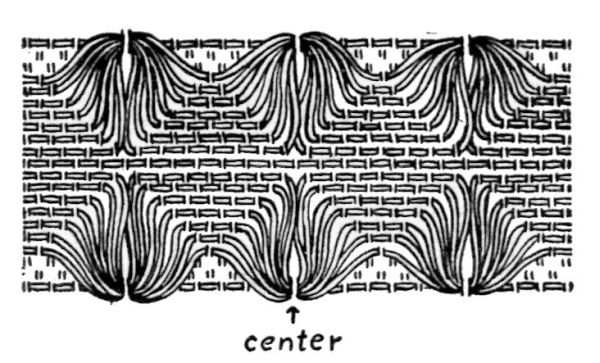
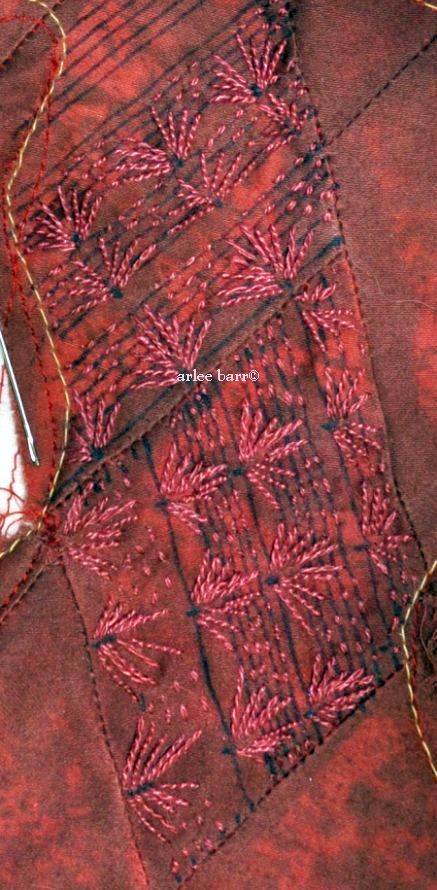
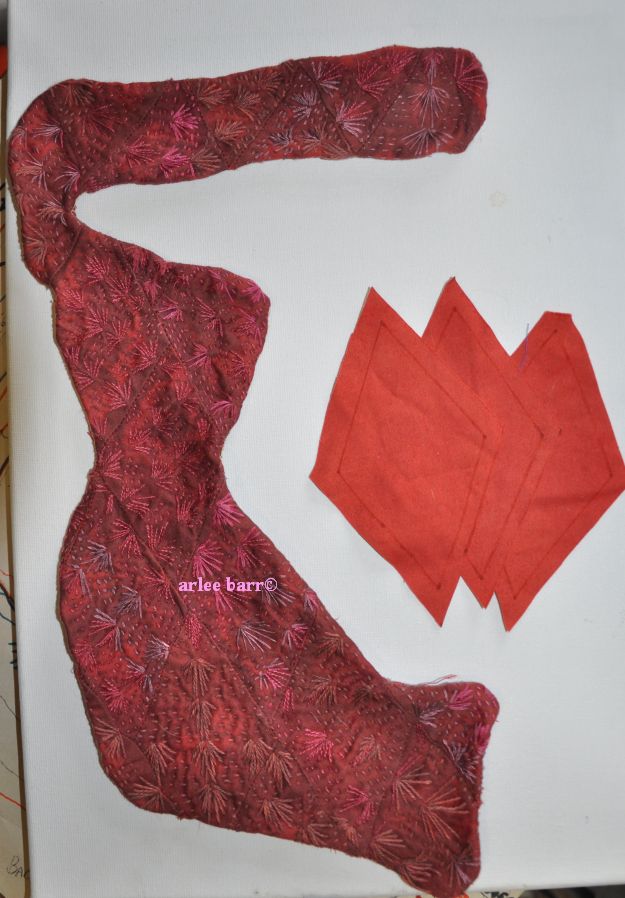
I found it best to attempt it by first marking out some lines on my diamonds, because there are no threads visible for counting spaces, as there is on linen and other fabrics with this type of weave. You can see from this stitch diagram, that the lines and counting are spaced very evenly, but offset so there’s a “brick” patterning in that area.

Too, the long floats of the cotton thread used traditionally are a bit heavier, resulting in those lovely curves.

HA! because it isn’t a fabric that can have threads counted, oh my. Not quite as elegant as the above example, but i do do do like it, uneven-ness, angles and all. One can’t work perfectly, because only the Gawdz/Gawddessez are allowed perfection 🙂 I want these sections to be less “obvious”, decorated, enhanced, so i chose instead to use a toning thread, quebracho rojo on the madder background, and will switch to deep cochineal when i run out of the qr. (Time for a big dye session again, running low on a few colours!) Even though it’s a silk, which you would think would give sinuous curves to the longer stitches/floats, it’s too fine to give that lay to the thread.

Thank goodness for washable markers, or this would be a horrendous mess 🙂


Posted in a collusion of ideas, in progress, Natural Dyes, Sketchwork

combo plate #1 or “how things come together”

This is how we riff in this studio.

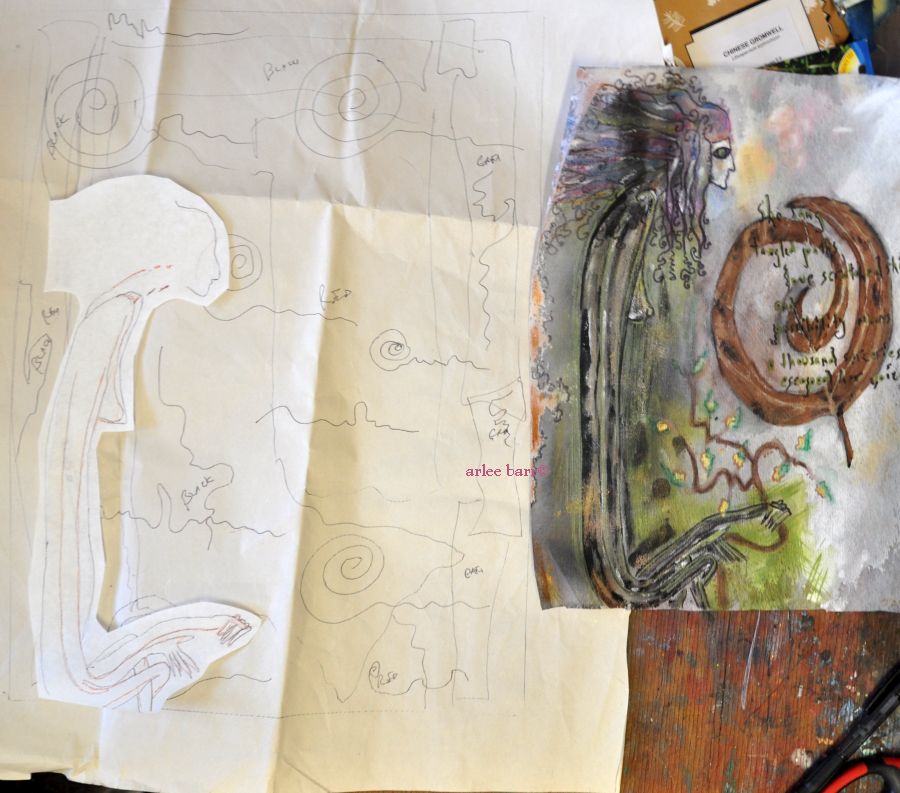
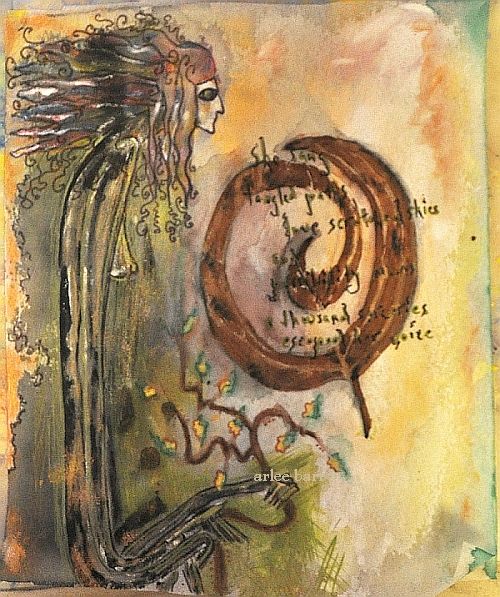
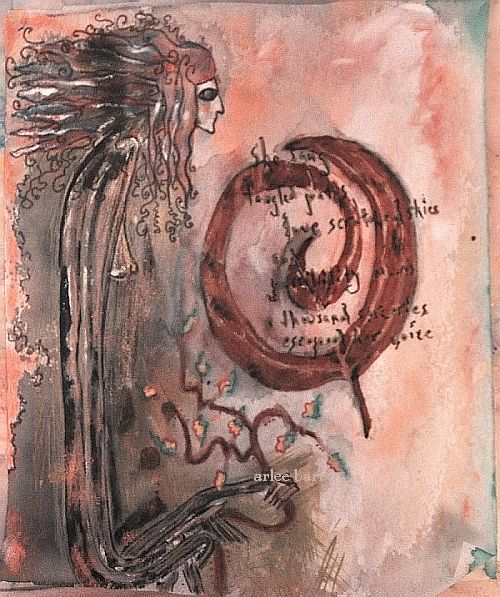
Original paint sketch above, below colour adjusted in photo edit program–if she were madder (HA! I mean the natural dye of course 🙂 )

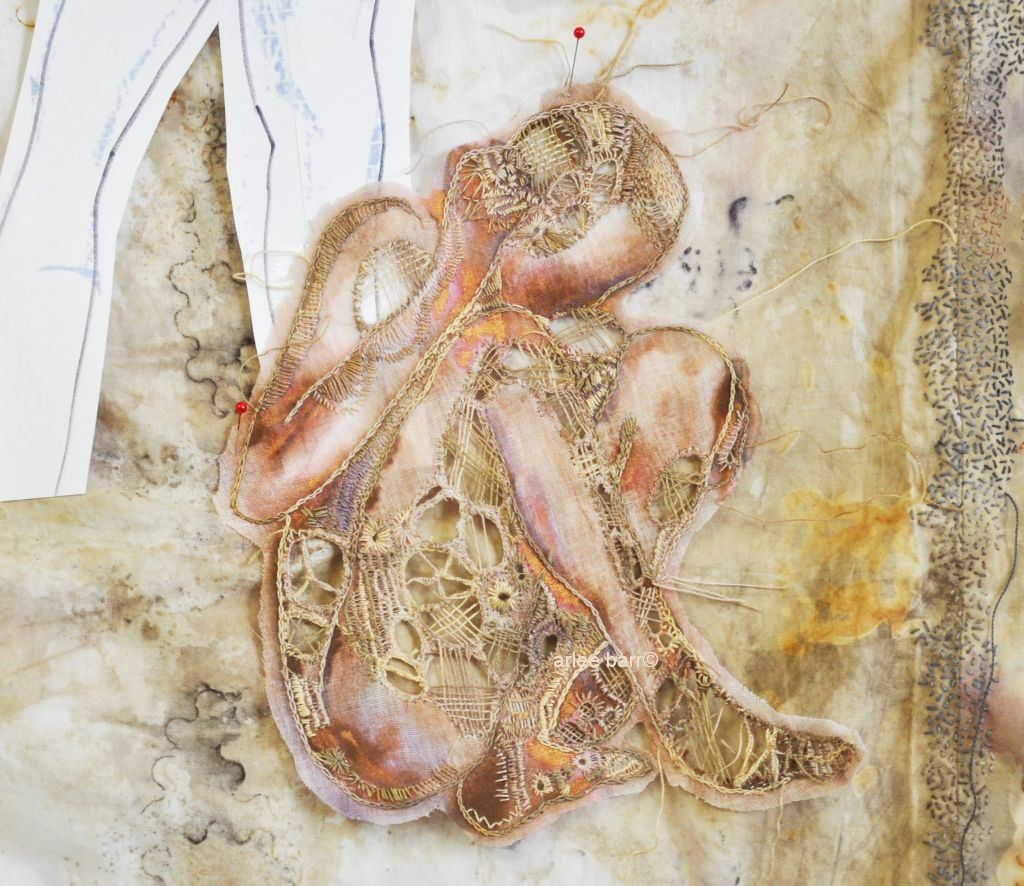
And what if i “translated” her like one of the figures from “Tabula Memoria”?

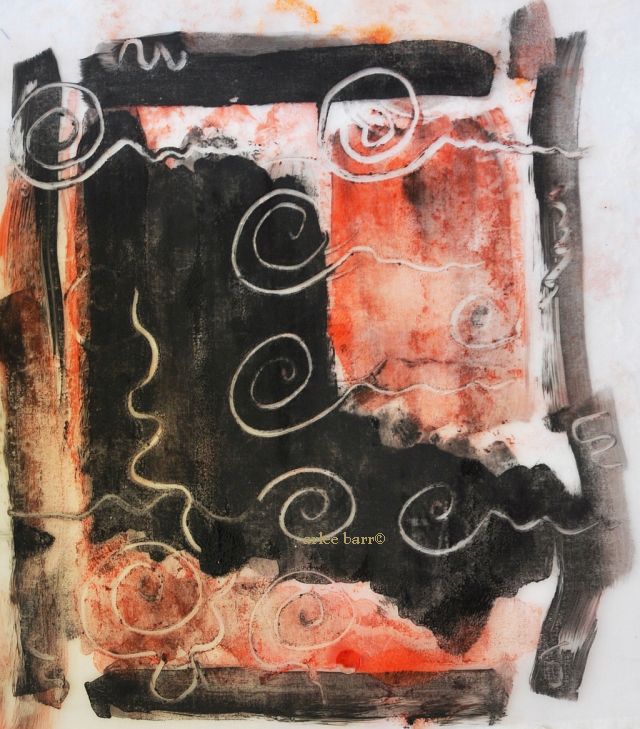
but gave her a background like this?

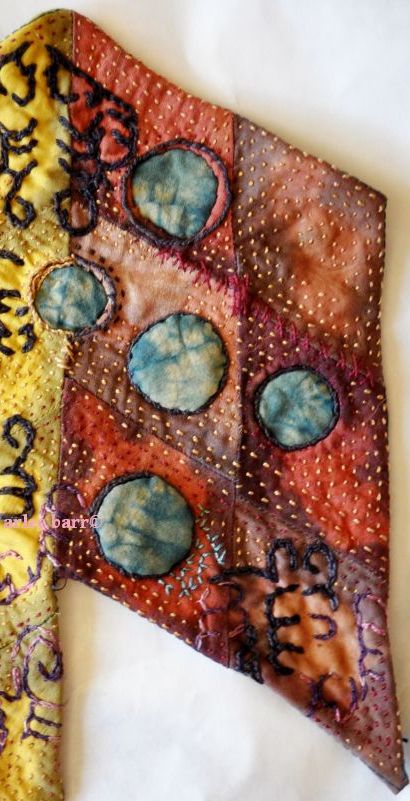
and treated some of the shapes like this:

I can do this.

Posted in a collusion of ideas, Probably talking to just myself

Combination plate #1 please

This crone has often travelled through my sketchbooks. (The one above is from 2012.) Originating in the 90’s, and in different incarnations, colourways and “moods”, she became machine applique on vests and jackets, and was quite popular. (I think there’s one version wandering around Hong Kong and another in San Francisco…)

Now i’d like to see her become a bit more tribal as she was intended. I’ll be working out ways to make that happen with the current “ethnic” studies and samplings i’ve been doing. Combining seemingly disparate elements has always been one of my favourite ways to work.

Posted in a collusion of ideas, in progress, Natural Dyes

new thoughts

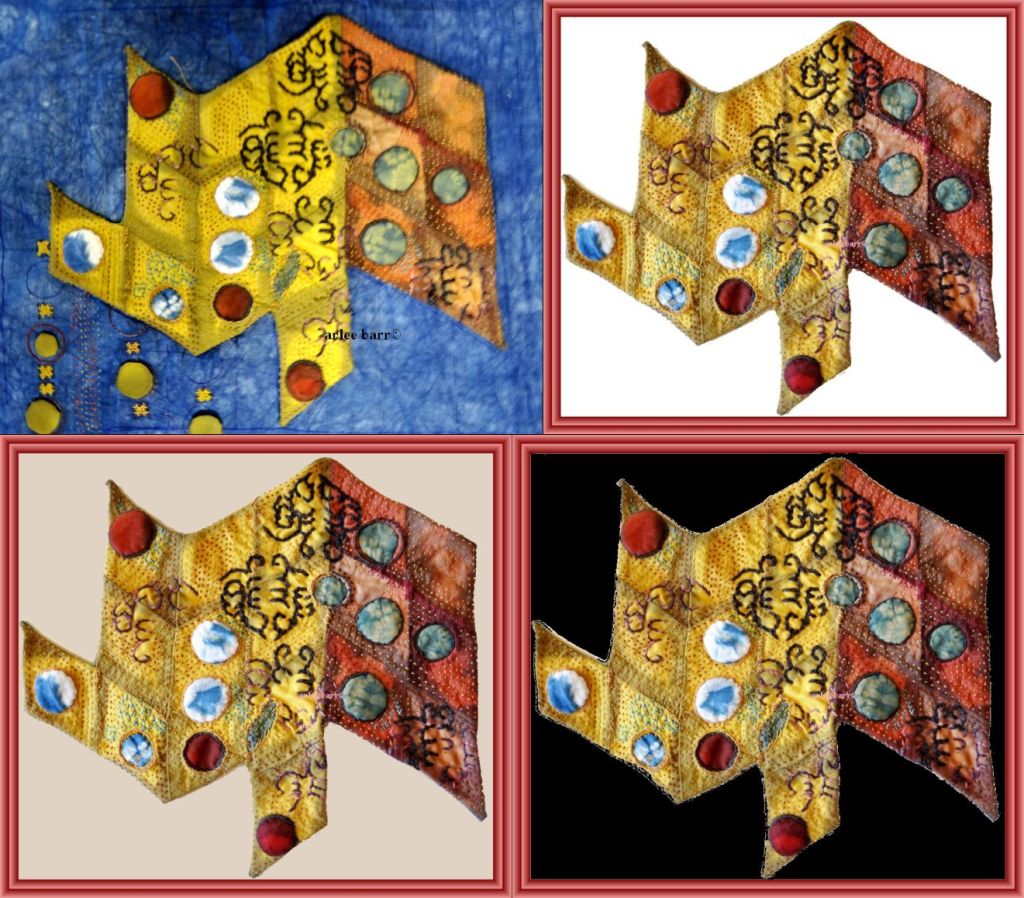
Hmmm, i don’t think this should be on a cloth background, mounted as i usually do on a stretched frame.

I made a start on the background, and i do like it, but i think any colour choice here fights with the shape, but even more with the intent, so, no “background”!

I looked online for mat boards, and wouldn’t you know it, it’s an odd size for conventional mats. I’ll have to now learn to cut my own framing mats, because i really think this would set it off better.

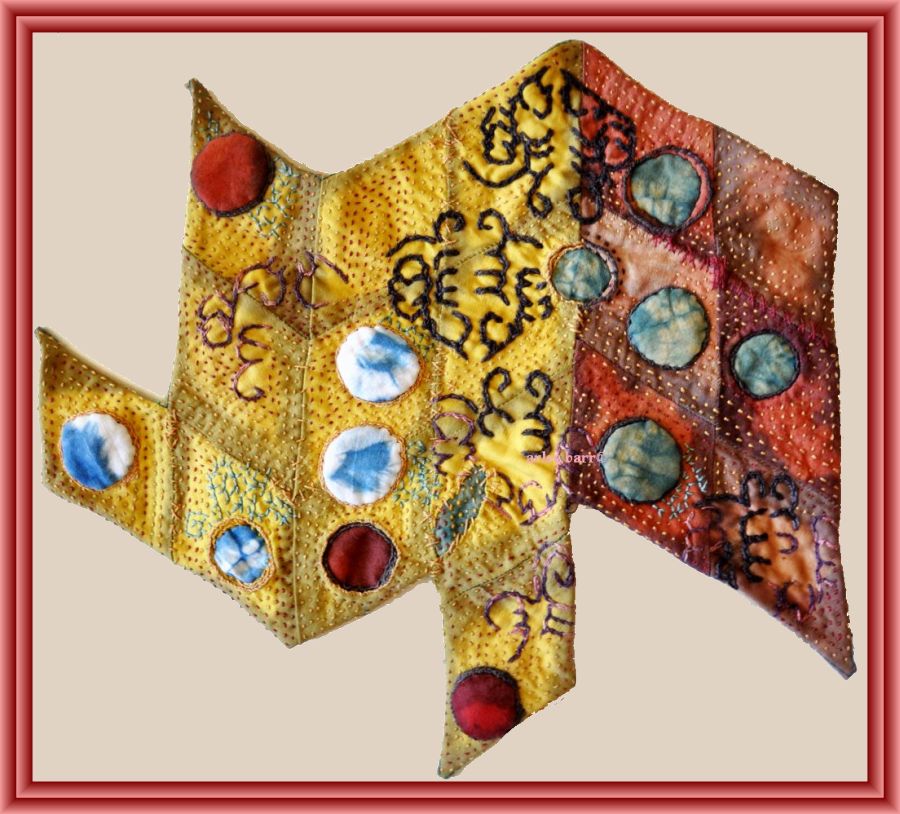
The white background is a bit too stark, so maybe a pale sepia tone would be better:

It still looks a bit “suspended”, but maybe that’s the point, setting it as a fragment?

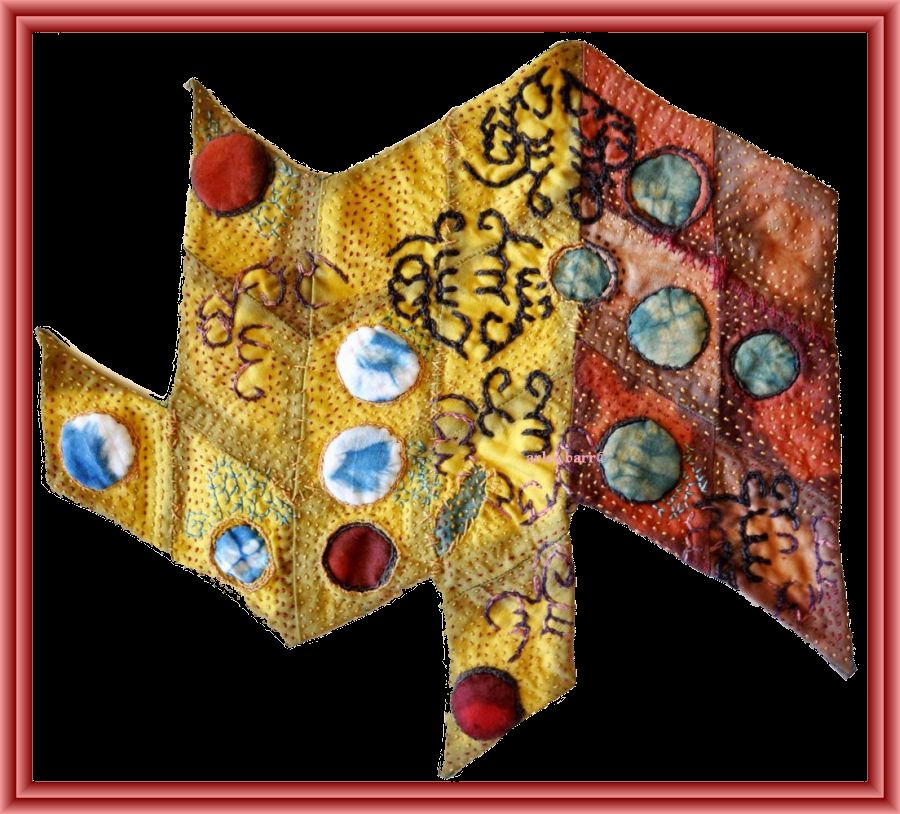
Or really dark?

MM, may be! I don’t want “colour” in a sense, or i might as well go back to the cloth backing. So, neutral or black? (Deep grey washed it out.)

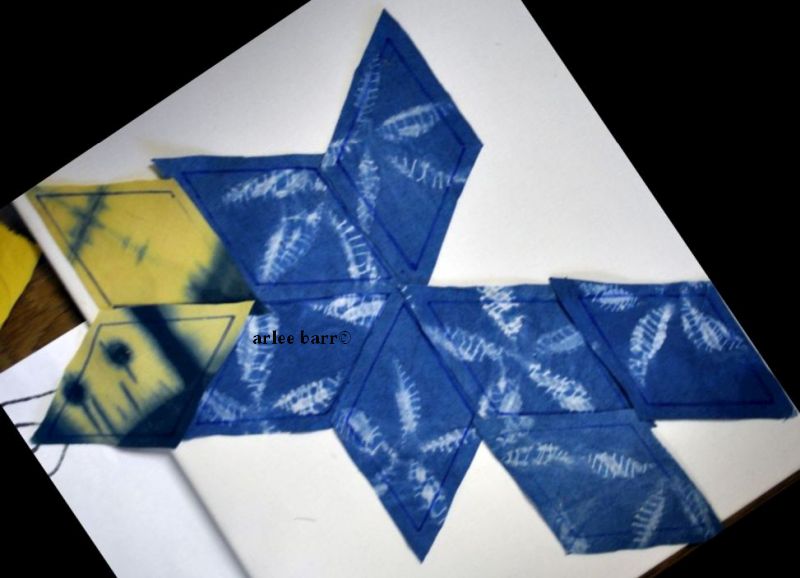
I’ve started working with other pieces too, trying different configurations. These may not be the “final” diamonds i use, but the fragment idea is still strong:

Posted in a collusion of ideas, Collision: the work begins, Self Directed Workshops

“suz, suz, suz, suzani”

To paraphrase Phil Collins……

Progress is slow on this, not because it’s difficult, overwhelming or a slog i feel obligated to get through, but because Life is happening. (Not in a bad way, just a busy way.)
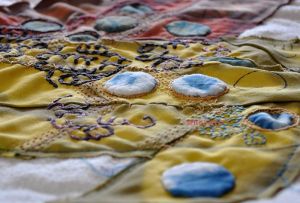
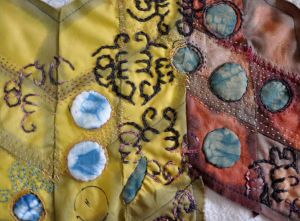
Technically, a “Suzani is a type of embroidered and decorative tribal textile made in Tajikistan, Uzbekistan, Kazakhstan and other Central Asian countries. Suzani is from the Persian سوزن Suzan which means needle. The art of making such textiles in Iran is called سوزن‌دوزی Suzandozi (needlework).”

Though there are elements of Swati and Uzbeki in this, i’m also going for some Sindhi, Kutch–and Me 🙂 For easy reference, by no means comprehensive, but still useful, check out the Wikipedia page “Embroidery of India”, for an overview. I have no desire to emulate any of these exactly: instead i am doing exercises to broaden my use of stitch, and to learn either new stitches, or new ways to use variations of them, an in depth self directed workshop.

While i stitch, i think. I have ideas already for other work, that is less derivative/evocative/reflective. While i know that contemporary work in some of these regions is now done with synthetic dyed threads and fabrics, it’s the naturals again that are making the choices and setting the direction for me. I wouldn’t have tried this if i had dependence still on commercially dyed threads: it just wouldn’t have occurred to me to try this. Research and study of natural dyes leads to the history of them, the use, the end product of thread or cloth, the purpose of these materials geographically and as an art/craft form— it’s a never ending rabbit hole!

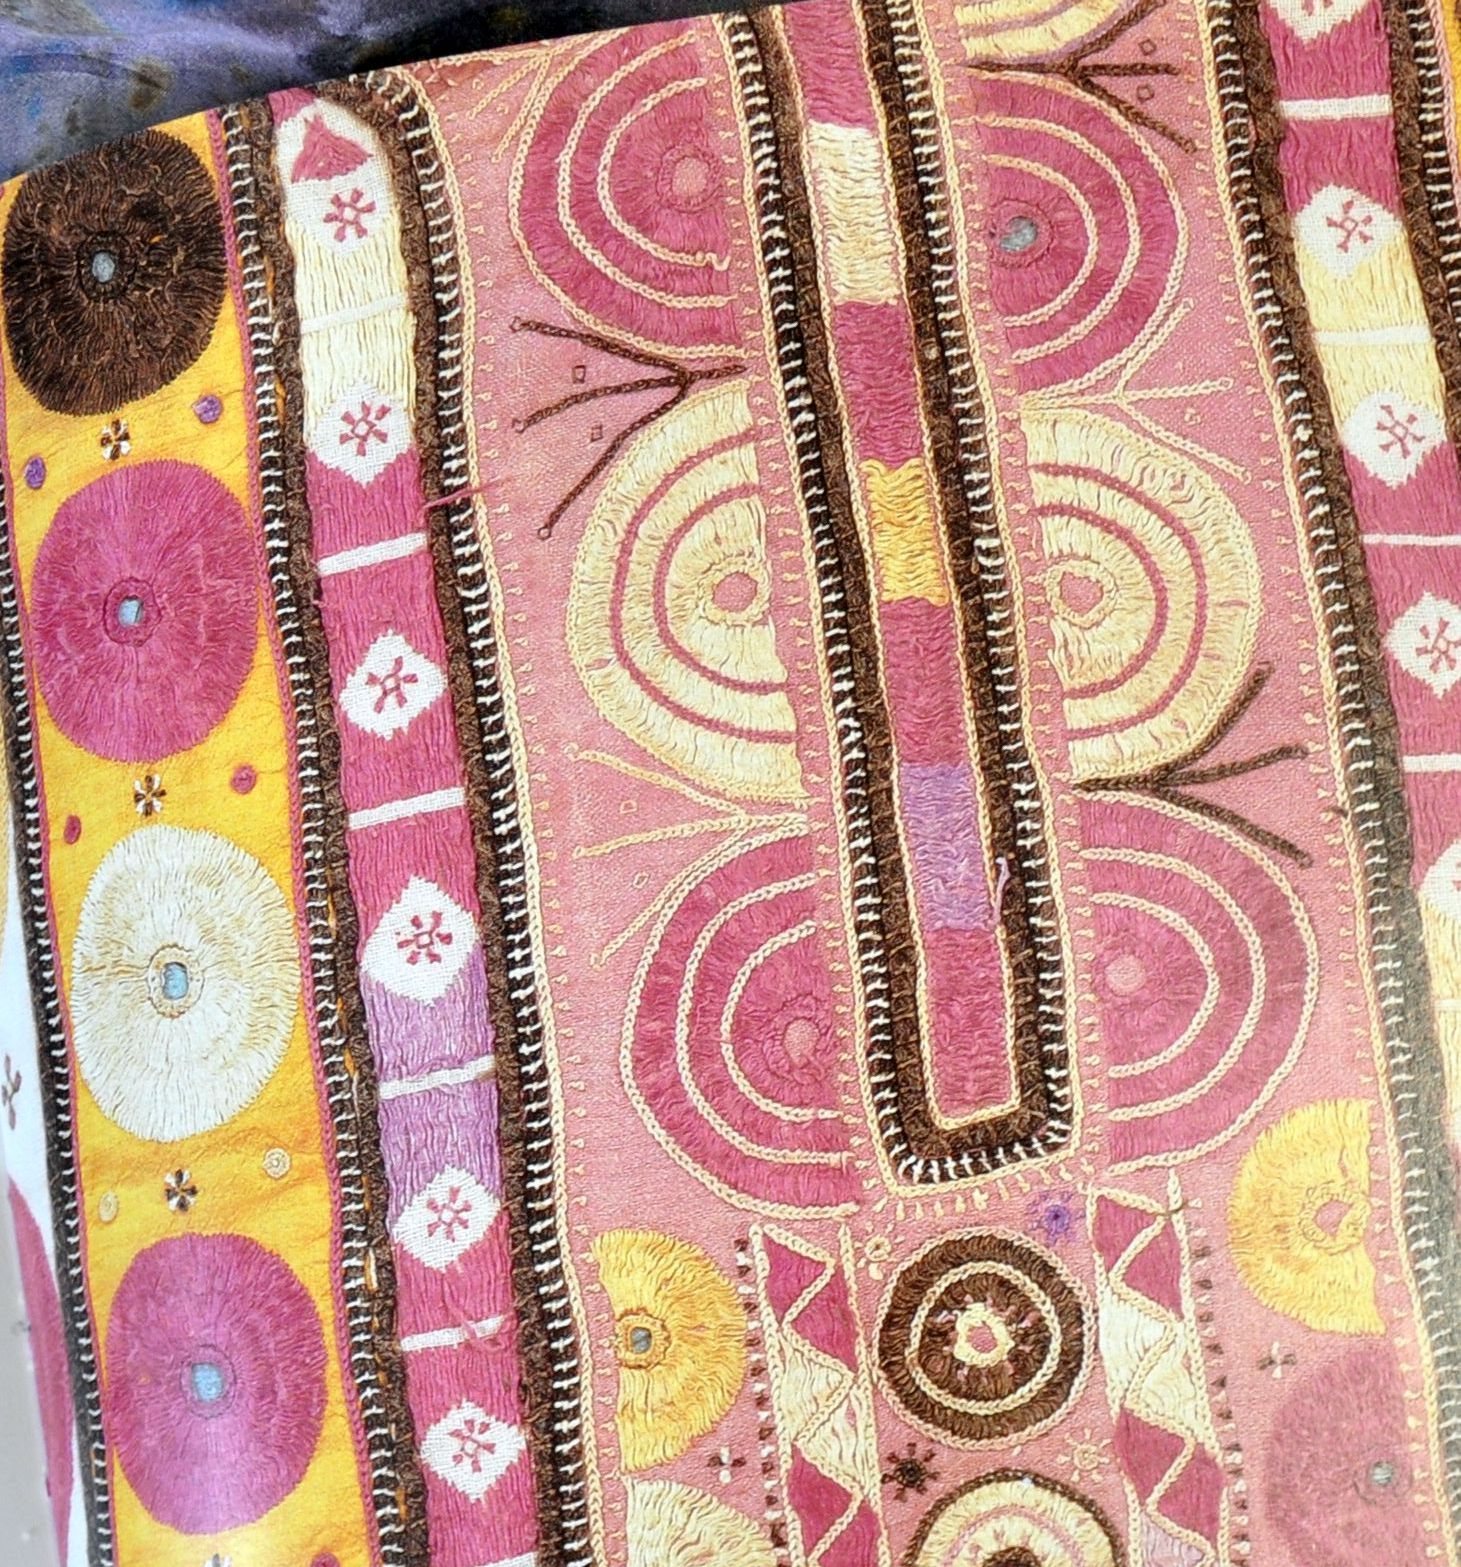
I managed to find TWO books from our local library  that have been helpful. “Embroidery from India and Pakistan” by Sheila Paine is somewhat of a catalogue of items from the British Museum, with gorgeous photos of clothing and household items, some with detail shots, and very basic descriptors of the region, stitch type and aesthetic notes, but no “how to’s”. I *did* learn however that satin stitch as we know it, is not actually used a lot, as it is wasteful of thread. If you think of how much of it is behind the work (on the reverse) as well, you can appreciate that when resources are few and probably quite expensive, you want to use as much as possible on the front. A lot of what looks like satin stitch is actually a surface stitch, akin to darning, but without the crosshatching weaving of another thread. I fell in love with this one, a detail from a Sindhi dress:
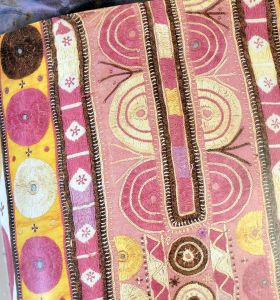
I left this as a deliberately large photo, so you can see the details more clearly. You can see though that with the surface stitching(the rounds with “radiating stitch” and the pink and lavender shapes down the sidebars), wear and breakage happens, i would think easily, and quickly.

The second book is “The Techniques of Indian Embroidery” by Anne Morrell. Again, wonderful photos in colour and with details of items, and with illustrative diagrams of the stitches used. The only problem i had was the constant flipping of pages to match “figure 36” stitch diagram with plate 21 to see the stitch in “action”. I’m curious too why the artisans  would work with the reverse side towards them, as stated in this book, as it seems very counter-intuitive.

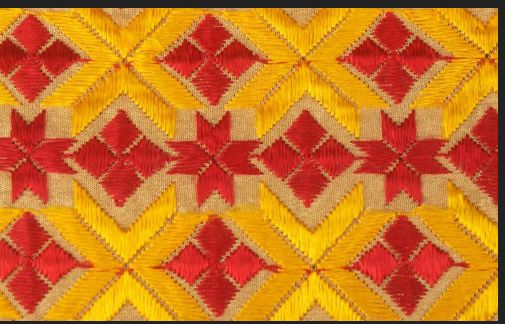
This is also the surface stitch i mentioned, used in this Phulkari piece:
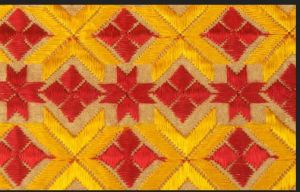
What also blows me away, and a Thing i do not aspire to, is the neatness and regularity of the backs of these! Some are two or three layers of cloth to eke out  what is available, but many are one single layer.
Posted in a collusion of ideas, journal: lessons to learn

brakes on, put it in park!

Oh dear, i just can’t stop looking at these Central Asian embroideries!

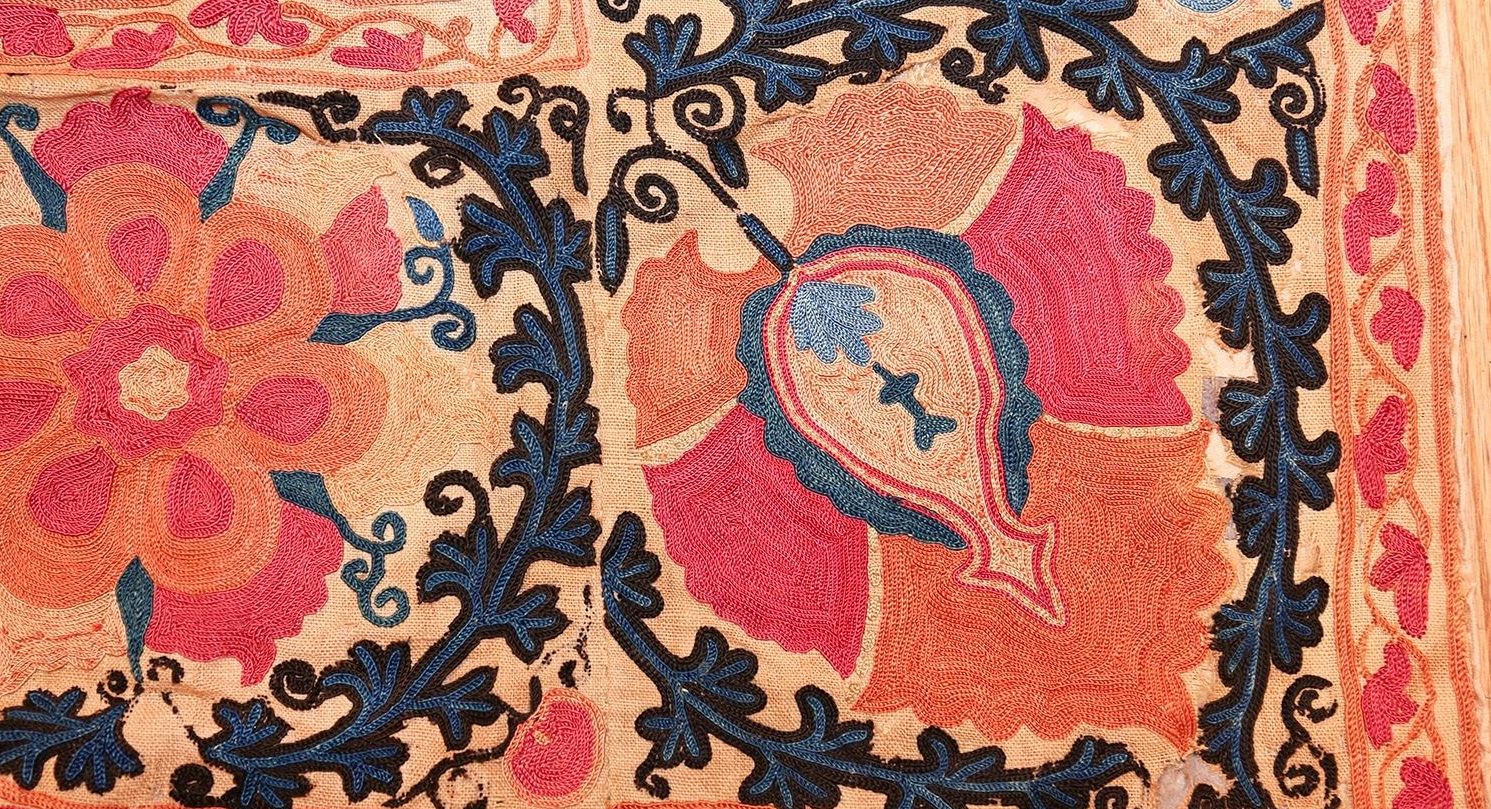
If i win the lottery this week, i AM going to buy this piece 🙂 It’s a steal at 9500US–look at the workmanship and beauty!

PLEASE, click on the photo to see those gorgeous details! I’m reasonably sure the whole thing has been done with ONE type of stitch, “ilmok”, a double buttonhole forming shapes.  From the 1800’s, it’s a good bet too that the colours were created with natural dyes. Though synthetic dyes were first being produced around 1856, these people were highly unlikely to have access to them. I think too that the panels were worked by several embroiderers and then pieced together, as there are mismatched seamlines, different qualities of stitch, and more simplified areas, none of which detracts from the beauty of this. (AHA> i was correct: http://www.marlamallett.com/suzanis.htm )

It’s also huge, given the fact that it’s handwork, a whopping 5foot4 by 8foot4! You can see the whole, and more detail here.

As to the “brakes” and “park”, i am making myself stop looking at photos and sites, and doing the work these inspire. Since i intend to mount the pieced chunk i’ve been working on (previous posts) on a background, i thought this stitch would make a lovely addition and emphasis/accent to that.

HA. Buttonhole stitch is one of the easiest to do, probably one of the first every embroiderer learns in the beginning. To get the effect and look however of that above? Well, firstly, take a look at the size of those stitches in relation to the weave of the fabric used. MIN IS CULE. I mean practically microscopic! I tried to be as tiny as possible with the finest cotton thread i had (one i intend to dye) and still couldn’t get the effect i wanted, with that defined line along the edge of each row. Nope. I *might* be able to do it with a silk thread, but have realized that much effort is not worth my time. I had intended to do only rows, not massed coverage BUT! These extremely skilled artists have a phenomenal talent and infinite patience!

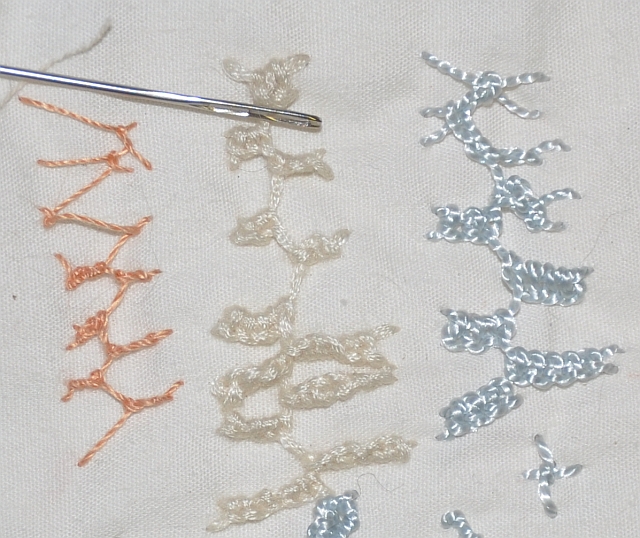
A valuable lesson learned about threads as well: the type, twist and fineness does not guarantee an effect. My cotton thread, while “perfect” was also too rigid to get the fluidity and “spread” i needed; a silk would “fluff” more, even as a fine thread. (Wool of course is the best for that.) I’ll still dye it, as different weights and plies are wonderful for accenting certain stitches or creating different textures, but will be passing on the miles and weeks of trying to cover a large area this way. Using a variety of threads can have very interesting outcomes:

Same stitch above, different weights and fibres, from the first FrankenStitch course i taught online in 2011.

Thinking now that the background will be treated somewhat like i did “Instinct” with the rows of straight stitch:


EDIT: Didn’t win the lottery, so will have to content myself with wiping the drool off the monitor once in awhile…….