Posted in Indigo Dreams, Natural Dyes, Probably talking to just myself, tansy

the greens of summer

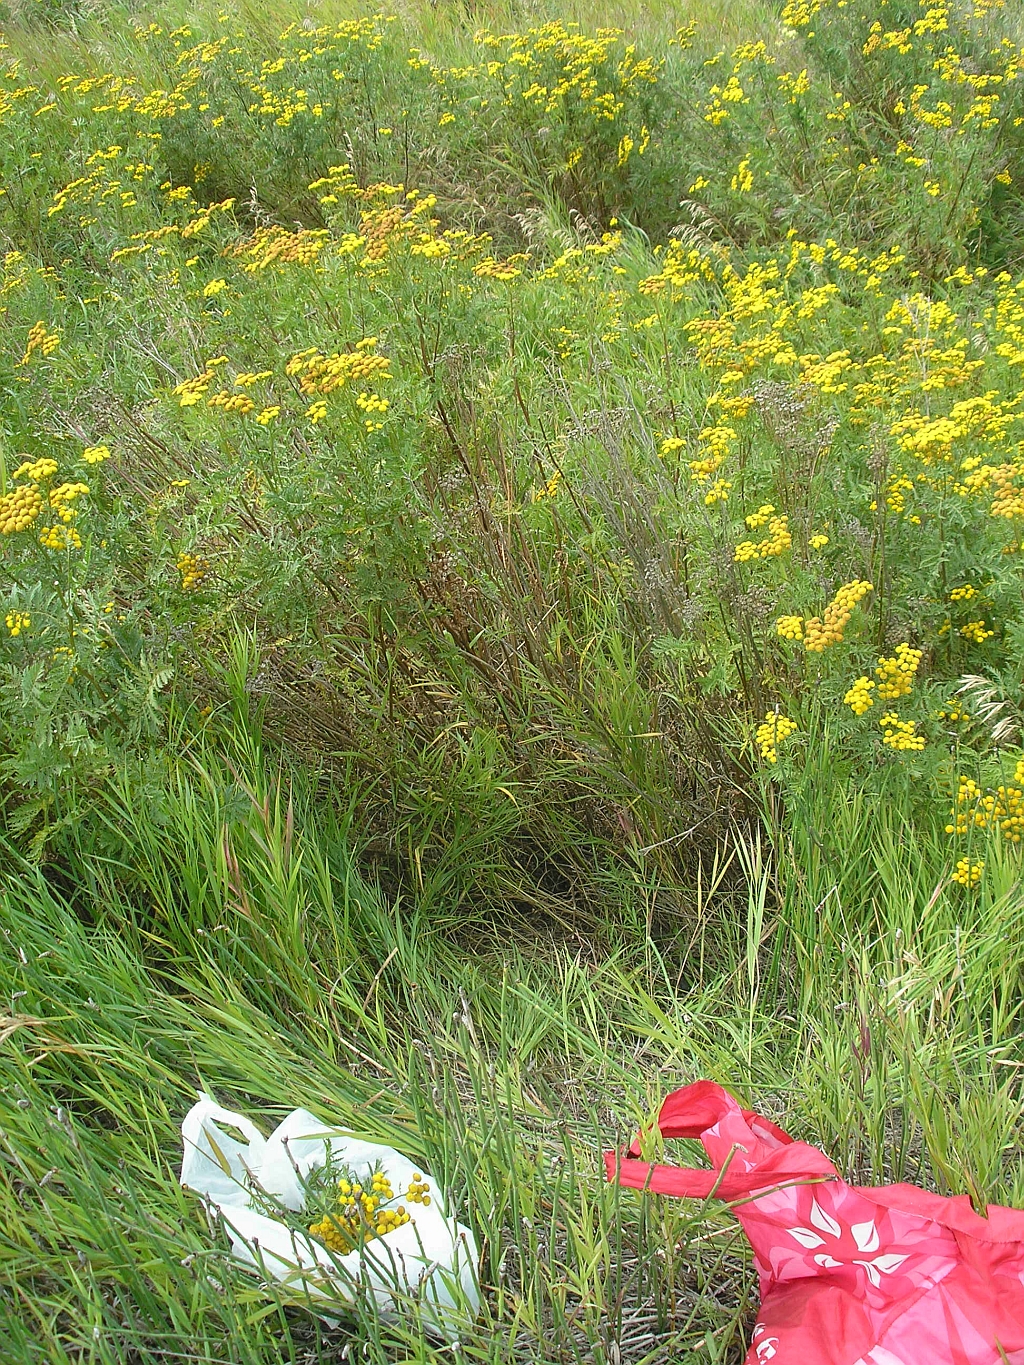
Above, that’s actually a photo from 2010. “There was a gigormous patch of it by the tracks so i headed there eagerly. Just as i got to the edge of the embankment, i heard a train and caught out of the corner of my eye one of the machines they use to keep track (narf) of the rails and trespassers, coming around the corner. Guess who was trespassing actually? Guess who fortunately (?) was so startled that she fell down the embankment into a tansy forest????? They never saw me, even backing up and looking while i flattened myself out on the ground down the edge. I felt guilty and silly at the same time, elated too 🙂 I snuck the camera out of my bag in case one tromped over and asked what the hell this middle aged frazzle haired freakwoman was doing lying on her face on CPR property in the weeds. Umm, taking pictures because i’m a botany specialist? HA! Got a BIG bag of tansy after they toodled back the way they came.”

As much as i love the results i’ve got with “traditional” natural dyes (ie the ones i have to buy, like madder–still waiting till the fall to harvest mine, indigo, cutch, osage, logwood etc), i love a good walk, with the DogFaced Girl of course :), to forage what i know are proven dye plants in my area.

My last big excursion with local plants for natural dye was a couple of years ago, and the results weren’t great. I was never sure if it was because the tansy was picked from a site that had previously been a (probably) highly contaminated ground for a gas station, or if it was just a bad year for colour. This year though there’s ACRES of the darn stuff, a highly invasive plant in the neighbourhood. I decided to try again, and my first excursion yielded the picking of 3.2 kilos (7.05lbs), barely a drop in the bucket even in my immediate area! I’ll be picking more, as there’s probably 1000 times that, no exaggeration, within the 3 block radius i pick in! It can be dried, but sometimes the shades are browner or weaker. That being said, it’s a good base to overdye with other colours: indigo for the most spectacular greens, madders for warmer yellow tones, or oranges and corals, and who knows what with quebracho rojo or cutch? I’ll be testing those as well.

When the flowers are gone, picked or naturally drying/dying on the plant, i can collect the leaves for greener yellows too.

I seriously upped the WOF this year as well, using twice the amount of plant matter per weight of cloth. YUM. This is YELLOW, a cool one, unlike the warmth of osage, but i do love the various shades with different yellow plants. When foraging locally too, the likelihood is that most plants are going to give yellows or greens, but post mods and other dyes can really extend the colour range. I can’t gather enough Solidago (Goldenrod), as the varieties that grow here are really mingy stunted little varieties. Ah, i miss the Ontario ones for colour, and beauty! (Not that i knew that when i lived there, oh so many many years ago…..)

So,
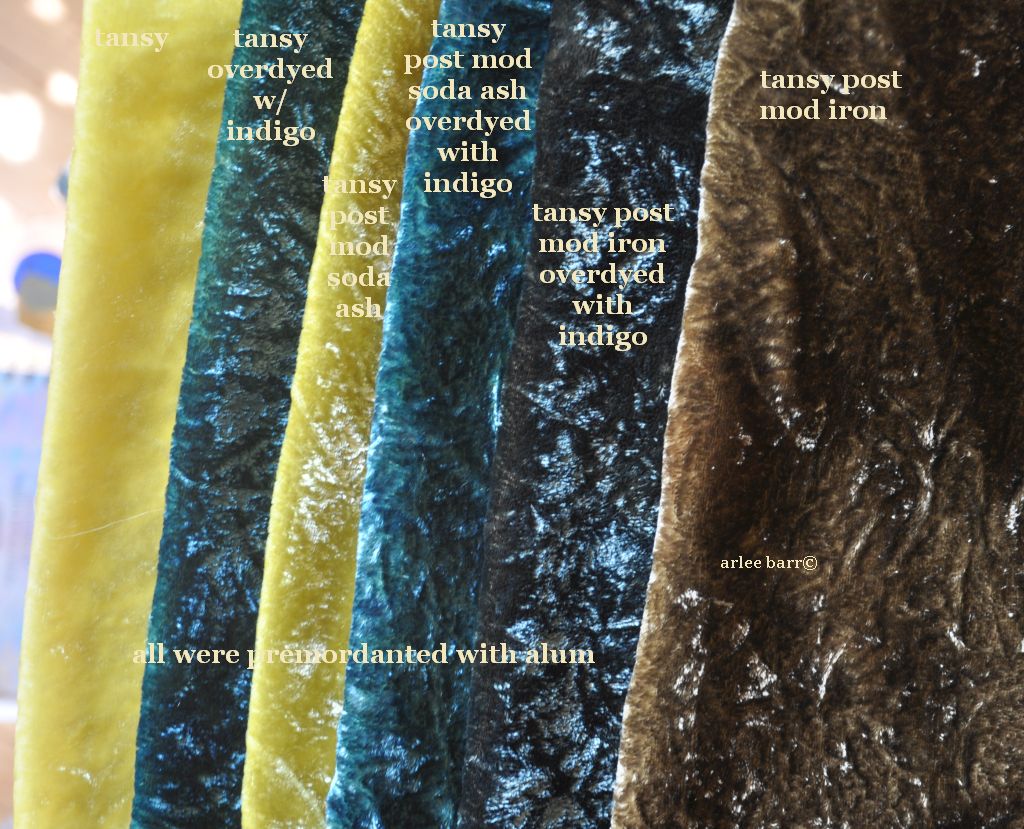
Amazing what one plant, some pre and post mods, and 1 overdye colour can do. Note: these are all silk velvet, with tests to come on cotton and silk habotai.
 

Posted in Home Cookin' the Cloth, journal: lessons to learn, mordants and modifiers

beautiful mistakes

When chemistry has its own way.

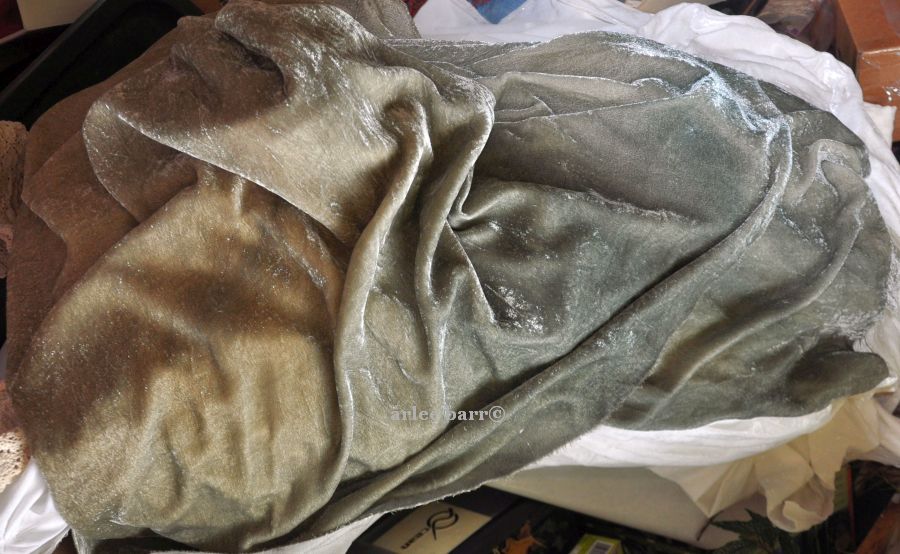
I bet i couldn’t replicate this if i tried…..I had used this tannin bath already twice, and it was filtered water, but the tannin had started to oxidize, and it also showed me that either my filtered water system leaves some iron in, or that the original scouring had left a residual, BUT it’s the most gorgeous silver and fawn i’ve ever seen. The right side is actually the bottom edges, and the left is the middle where it was folded over a rod to hang to dry. The iron migrated then to the bottoms so it was still pretty “loose”.

I’m hoping that after a good rinse, it’s much the same. (Silk velvet)

Posted in cutch, journal: lessons to learn, Natural Dyes

cutchy cutchy coo, and fabric woes and lows

Every dyer knows about walnuts for deep browns. Walnuts don’t grow in Alberta. I have some frozen ones still, sent by a generous friend in Ontario, and intend to dig them out, but needed some browns *now*.

Cutch yields chocolate, toffee, cinnamon, clove, mocha—mm, all delicious sounding 🙂 I’ve wanted to try it since i started noticing it in my “ethnic” embroidery research (India and the Mid/Central Asian regions), and for Mother’s Day, my darling son ordered me some (cutch extract) from Maiwa!

Cutch is a tannin and a dye, much like walnuts, quebracho rojo, or pomegranate. (Most of my fibres are previously mordanted though, as i like having them ready to go when the dyeing mood strikes. Pieces i want to overdye after the cutch, are already then tannined, in fact double tannined :).) I wasn’t impressed at first with the action in the dyepot, seeing a “nice” brown with distinctly pink overtones, but since it has to simmer for 2 hours, cool overnight, and there are many ways to shift the colour, i just let it be.

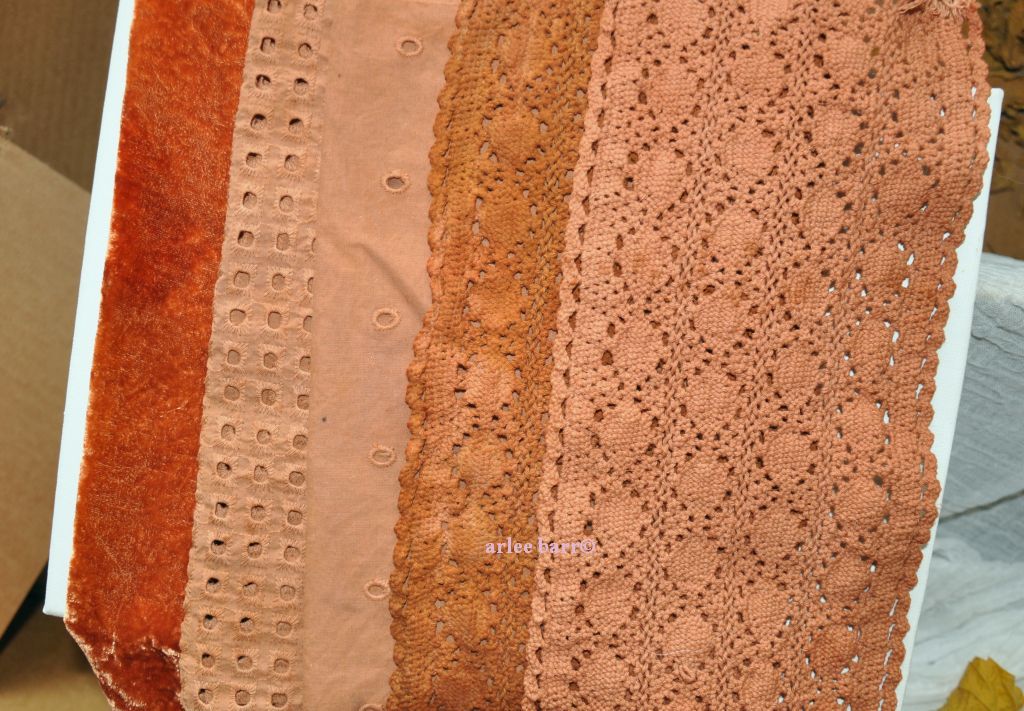
Recommended WOF being 20 to 50%, i used 30%. These fibres have been previously mordanted, with the exception of the lace far right.

I’d call most of these “mocha”, maybe even “mocha coral” :), vintagey, homey, warm and soft. The silk velvet obviously did the best at uptake, a rich foxy shade.

~~~~~~~~~~~~

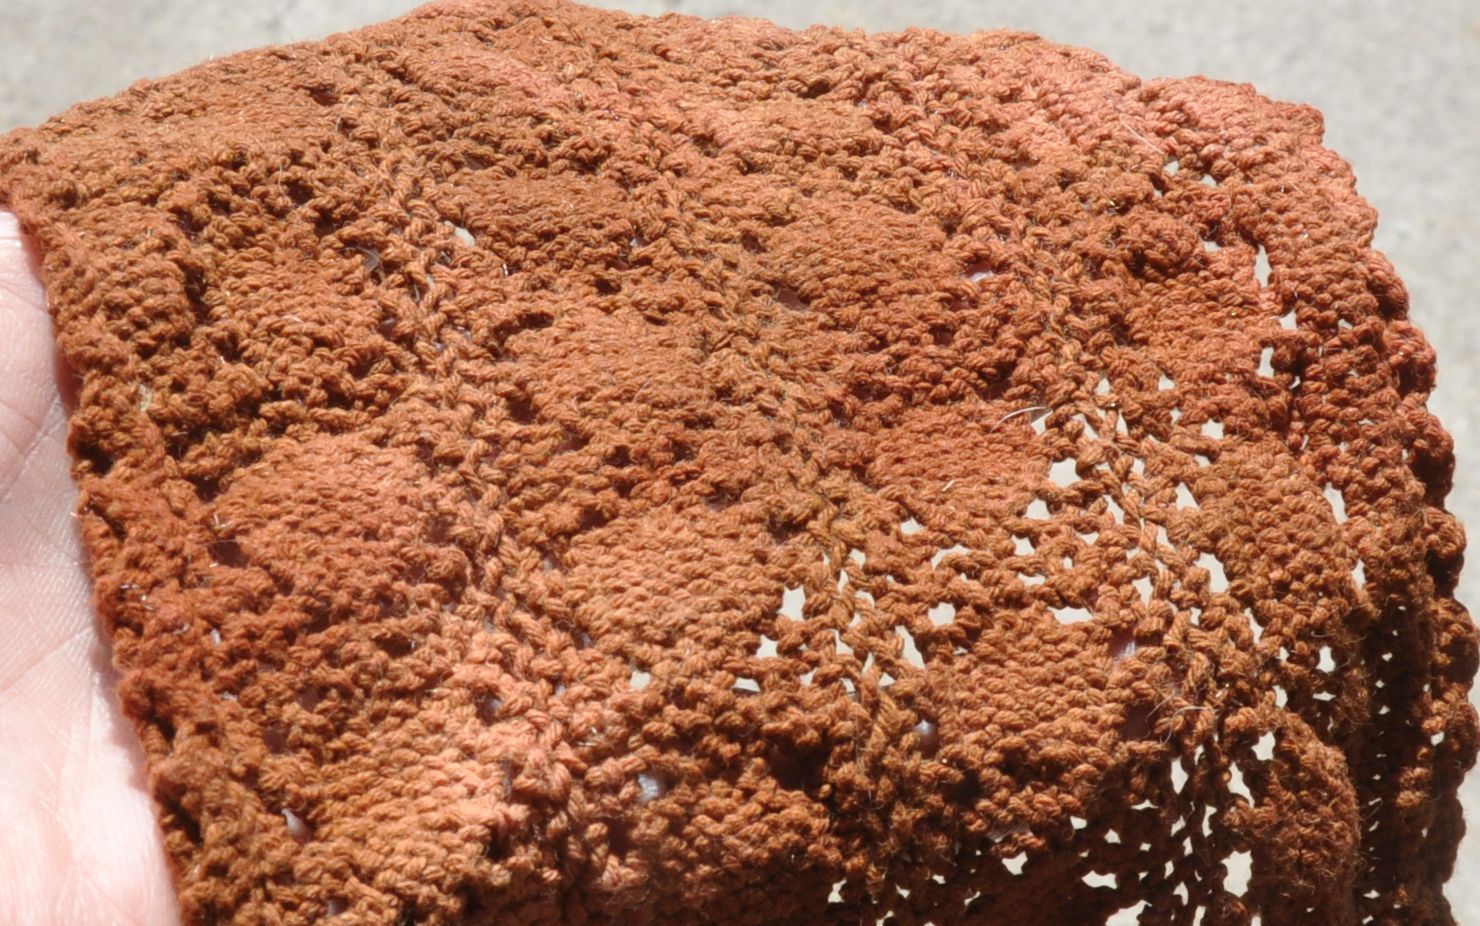
That cotton lace is a dense, heavily “woven” chunk.  And when i say “woven”, yes i am aware that lace is more a thread manipulating process than weaving. I’d love to see the machines that wind these threads into these patterns! BUT, yesterday when i took the darkest piece out in the sun to check the actual colour, WHOA!!!!!!!!!!!!!

Yes, this is 100% cotton—except for the trapped fibres of plastic/synthetic in it: see the shiny bits, especially at left and top? Plastic is SO prevalent and polluting in our world, and we tend to take for granted that when we buy cotton, it will be uncontaminated by synthetics, but i’m guessing this place either makes synthetic laces as well, or fibres from plastic packaging of the original cotton getting trapped in the machine. Perhaps we should ask now for labels that say “made in a facility where nuts, gluten, what, soy and plastics are also used/manufactured….”


The newest “trend” in fabrics is abhorrent: hyberole and gimmick, targeting and misconception/deception are really heavy in these so called “organic” fabrics.  I don’t care if it’s made from rose petals/rose waste, white pine, eucalyptus, bamboo, oranges or frickin fairy wings; it’s viscose/rayon, a fibre made from MANY different cellulose fibres (all plants are cellulose!), and the process is shockingly chemical laden, severely toxic and horrendously polluting. If i put a random pile of rayon fabrics in front of you, you would not be able to tell what was made from rose petals, or rotten rare spotted himalayan feather orchids…..I find it quite disgusting any company calling these sustainable, organic, vegan or eco-conscious, and just as disturbing that uninformed buyers clear this stuff out like it’s made from gossamer wings and moonbeams.  I made the decision a long time ago to not buy or use rayon, as it’s nasty stuff period. There’s no such thing as “good quality” rayon, and even if there were, it ain’t coming in my studio!  Don’t fall for makers that tell you these products are leaving no toxic footprint, educate them, but don’t don’t don’t buy.

Posted in Collision: the work begins, in progress, journal: lessons to learn, Natural Dyes, Naturally dyed threads

blobbing along

Whew, Mothers Day WEEK is over. If you’re in the plants and floral industry, it ain’t just one day that ya bust yer ass for!

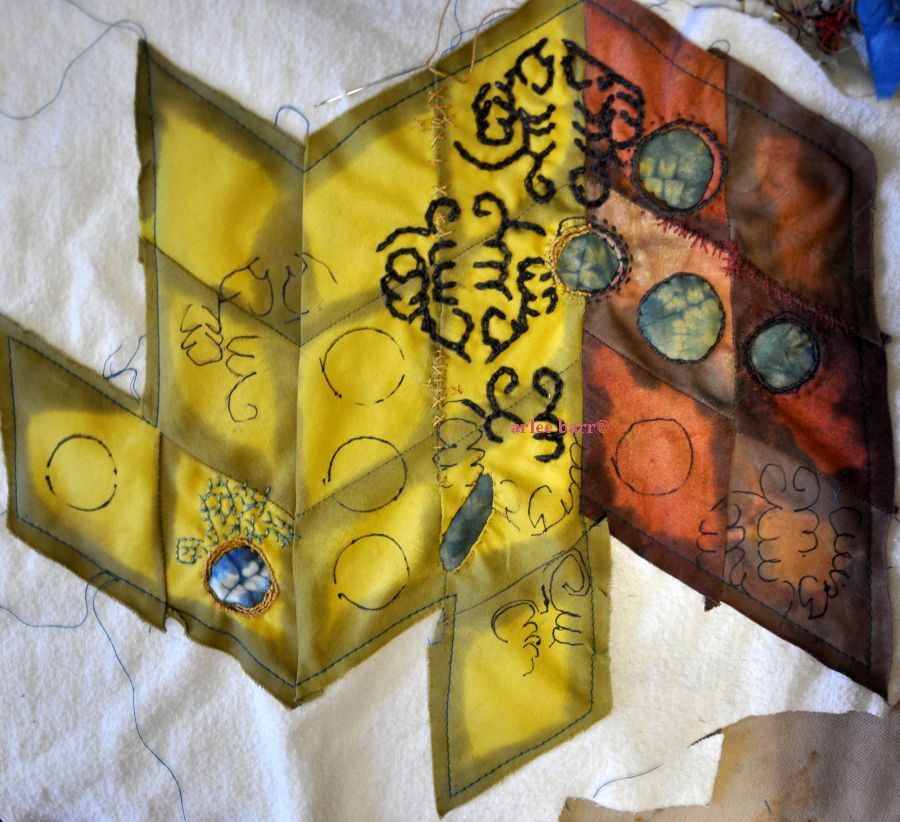
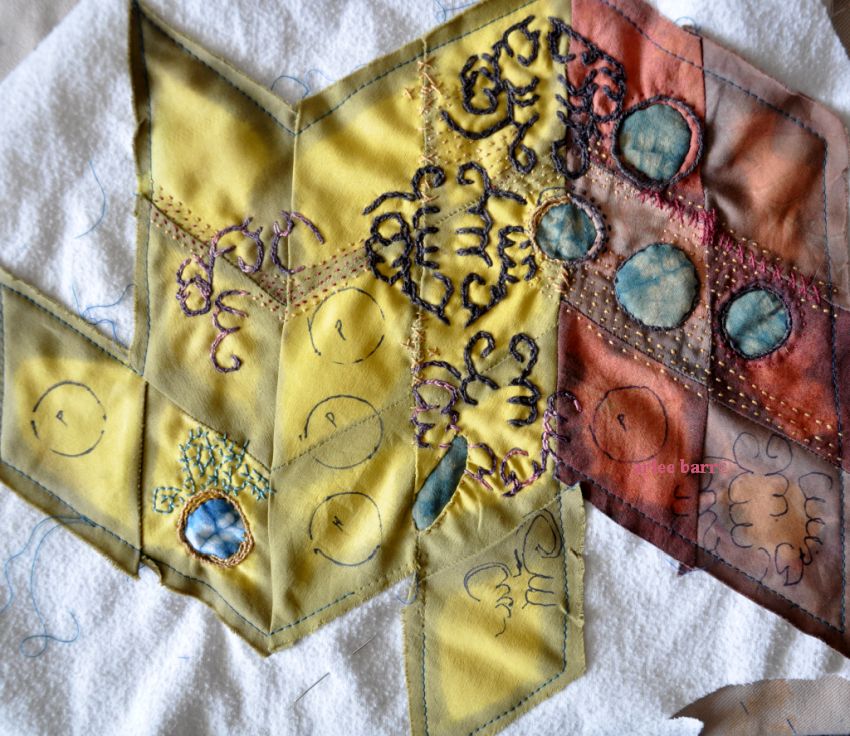
I managed to finish, except for turning the edges, the second piece (#5).

The leaf really rises above the surface, due to the tension of the stitch, so i’m going to pad it out more to keep that dimension.

Now i’m onto another, the #7, though not the 7th piece i’ve worked on. 🙂

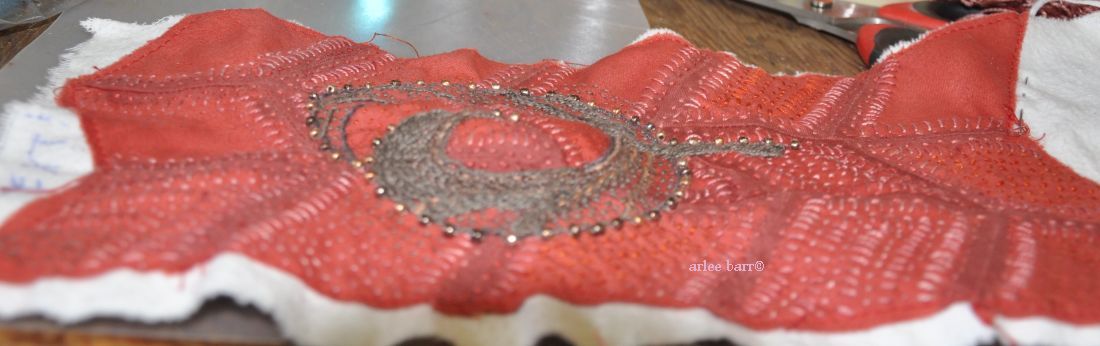
I used a copper modifier again, as this is to be “similar” to #5, and added a few circles this time. They are barely readable in the photo above, but will be worked with/around and more evident when the stitching is done.

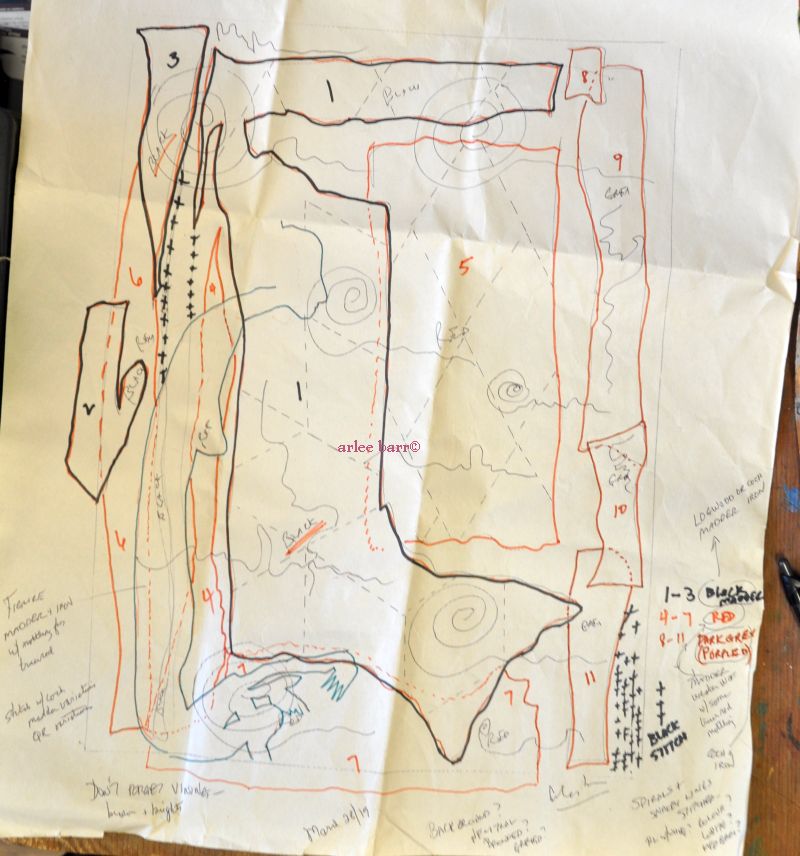
The “plan”:

#1 was done first.

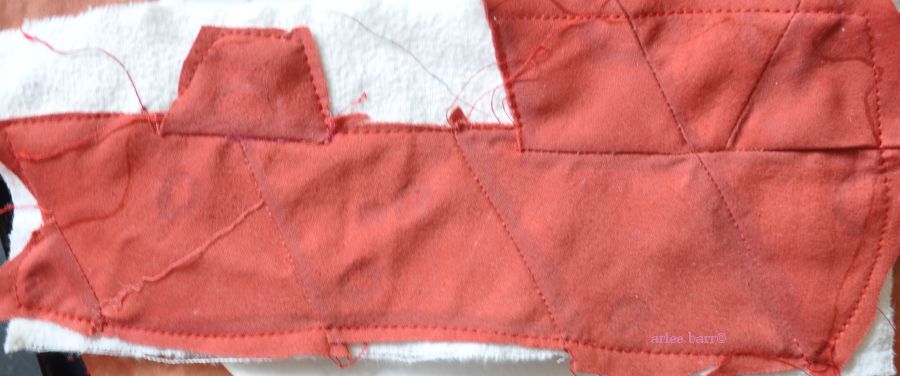
The piecing of the diamonds is sometimes frustrating as i get them sewn backwards, sideways and upside down, and have to take them apart or start all over! The stitching is mindless/”mindful”, something i can easily do during tubage, slow moments or waiting for laundry to dry, ha. All the other pieces are very small, so i might NOT piece diamonds for them, or i may go full tilt and make tinier diamonds…….

The “biggest”, most intense part of the project is actually the Crone, the most important component of all, and then the final stitching of spirals over the blobs, and on the background. She is smaller than figures i’ve worked this way before, and i’m hoping the delicacy won’t be an issue. So technically, i’m further along than i thought.

Next time i do a piece like this, all the diamond blobs will be pieced first, so i can switch amongst them to keep the flow going, rather than cut one, piece one, stitch one…………

Posted in Collision: the work begins, embrilting, in progress, journal: lessons to learn, Natural Dyes, Poetry: text and textiles

Note to Self: check notes to self

It might not be set in stone, but there is/was/is a plan for this piece.

I looked through my “stitchionaries” (photo detail files of work previously done), my stitch bibles, online at new stitches, scribbled and sketched and thought, drooled on my thread choices and pondered and pondered. How am i going to treat this section, without it being too dense, but also to “fit” with the first section done?

DUH. What’s the piece that prompted this?

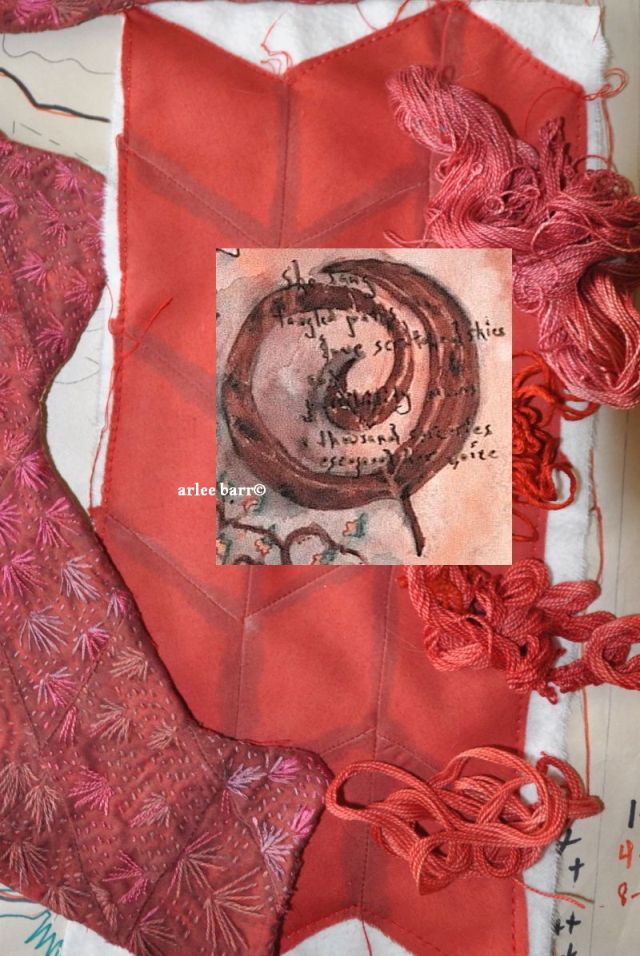
Obviously, it’s not going to be squared off like this quick cut and paste 🙂

I think the leaf needs to be a separate piece applied on top of this section, and the embroidery done over and around it.

Posted in embrilting, journal: lessons to learn, Naturally dyed threads, Stitches

first stitches, mixing it up

I continue to study the embroidery stitches used on Central Asian textiles, but the other day while consulting Dr Google, i found this:

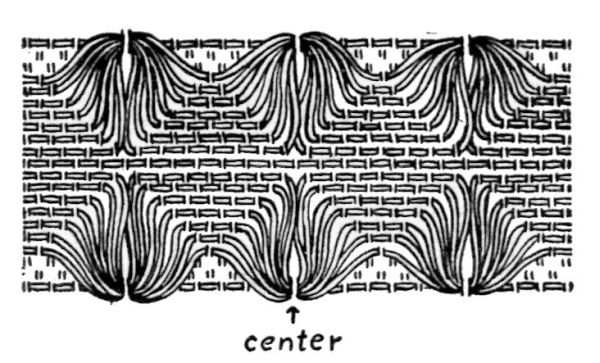
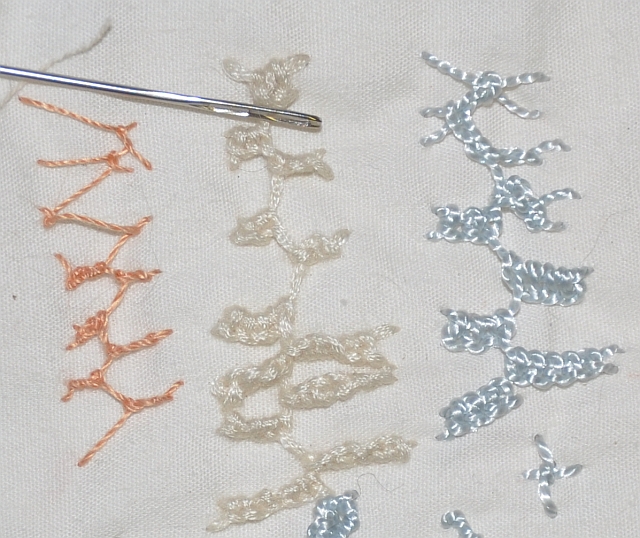
(Source, sold item on eBay) This is actually Swedish Huck “weaving”, a form of counted thread embroidery primarily used on household linens. Some of it looks very intricate, but is actually wonderful combinations of colour and simple line. (TIP: search huck weaving, rather than huck stitch.) Since the primary reason for looking at the CA embroideries was to learn new stitches, and new approaches, this still ties in nicely with expanding the repertoire.

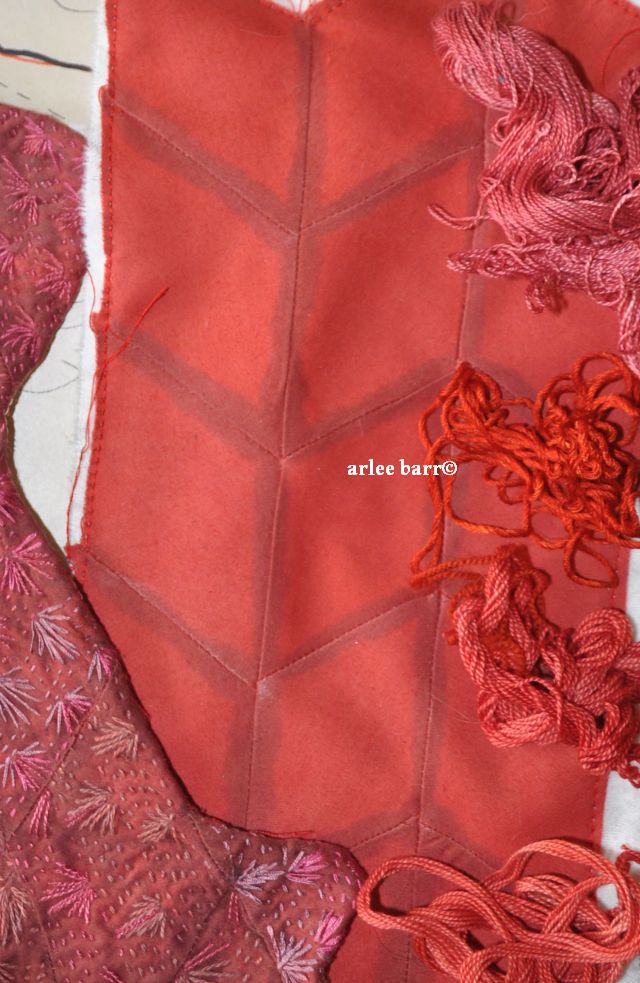
I found it best to attempt it by first marking out some lines on my diamonds, because there are no threads visible for counting spaces, as there is on linen and other fabrics with this type of weave. You can see from this stitch diagram, that the lines and counting are spaced very evenly, but offset so there’s a “brick” patterning in that area.

Too, the long floats of the cotton thread used traditionally are a bit heavier, resulting in those lovely curves.

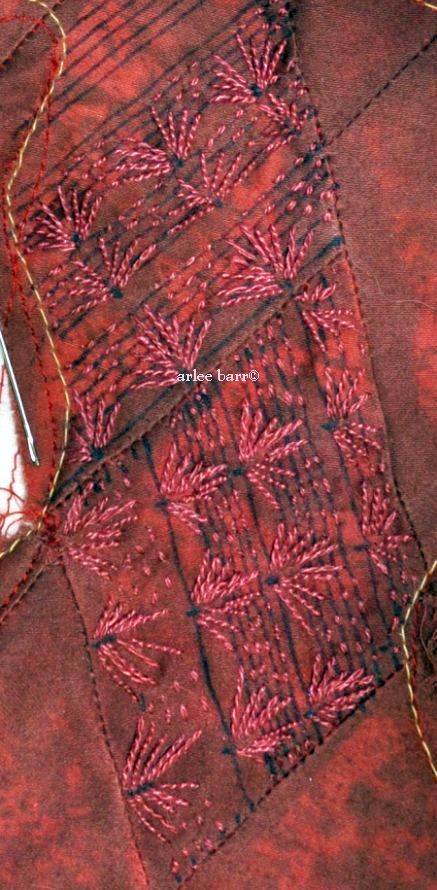
HA! because it isn’t a fabric that can have threads counted, oh my. Not quite as elegant as the above example, but i do do do like it, uneven-ness, angles and all. One can’t work perfectly, because only the Gawdz/Gawddessez are allowed perfection 🙂 I want these sections to be less “obvious”, decorated, enhanced, so i chose instead to use a toning thread, quebracho rojo on the madder background, and will switch to deep cochineal when i run out of the qr. (Time for a big dye session again, running low on a few colours!) Even though it’s a silk, which you would think would give sinuous curves to the longer stitches/floats, it’s too fine to give that lay to the thread.

Thank goodness for washable markers, or this would be a horrendous mess 🙂


Posted in a collusion of ideas, Probably talking to just myself

Combination plate #1 please

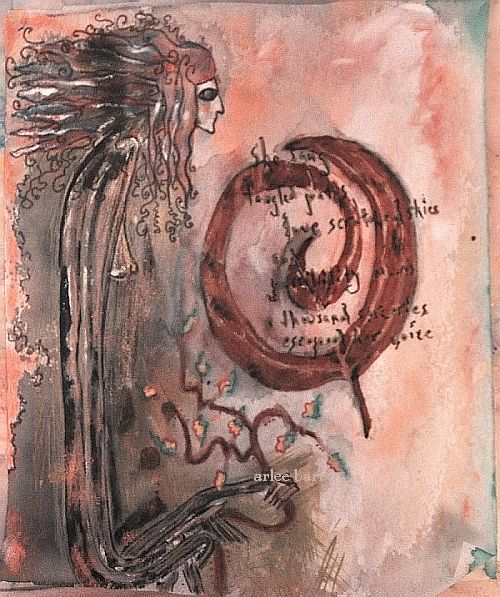
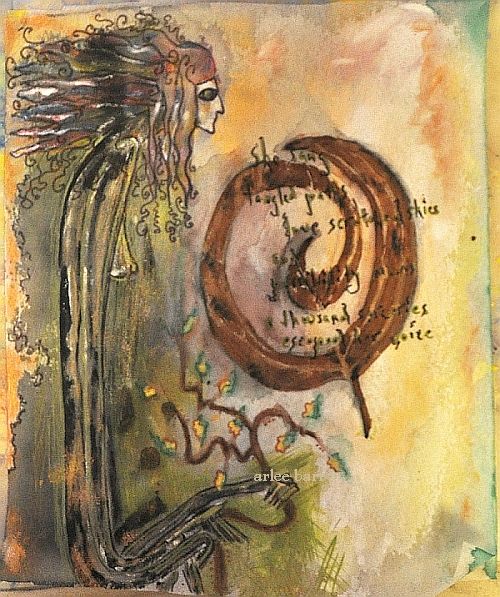
This crone has often travelled through my sketchbooks. (The one above is from 2012.) Originating in the 90’s, and in different incarnations, colourways and “moods”, she became machine applique on vests and jackets, and was quite popular. (I think there’s one version wandering around Hong Kong and another in San Francisco…)

Now i’d like to see her become a bit more tribal as she was intended. I’ll be working out ways to make that happen with the current “ethnic” studies and samplings i’ve been doing. Combining seemingly disparate elements has always been one of my favourite ways to work.

Posted in a collusion of ideas, journal: lessons to learn

brakes on, put it in park!

Oh dear, i just can’t stop looking at these Central Asian embroideries!

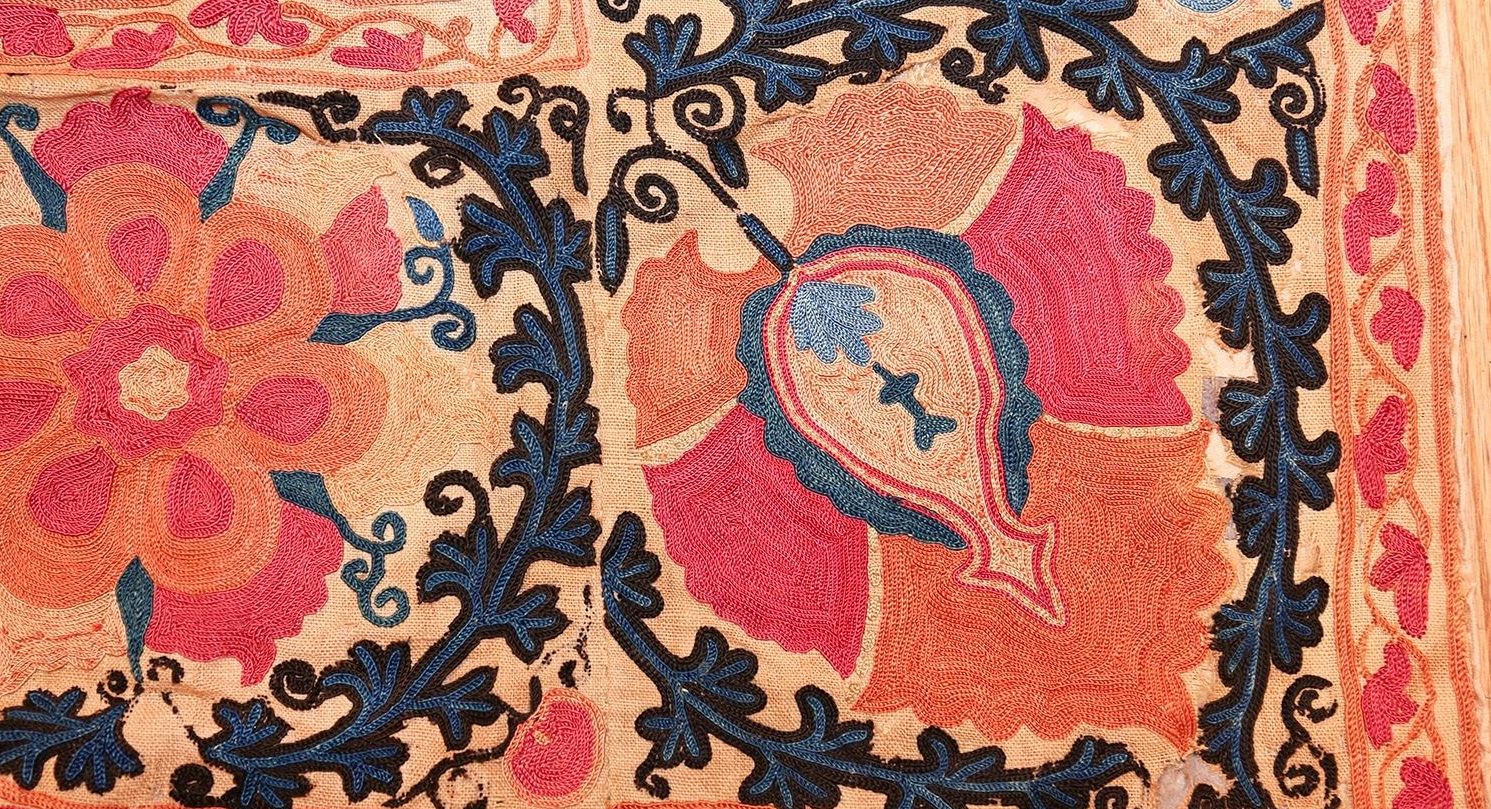
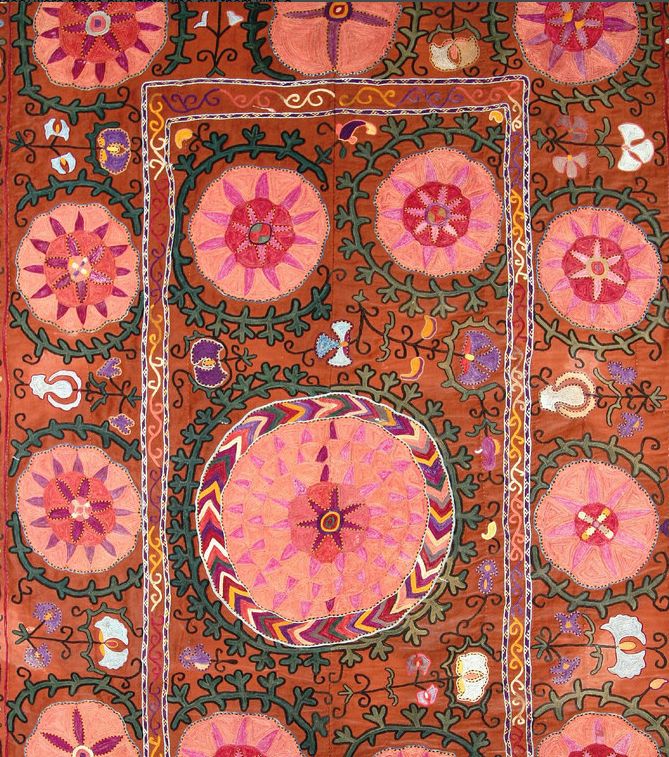
If i win the lottery this week, i AM going to buy this piece 🙂 It’s a steal at 9500US–look at the workmanship and beauty!

PLEASE, click on the photo to see those gorgeous details! I’m reasonably sure the whole thing has been done with ONE type of stitch, “ilmok”, a double buttonhole forming shapes.  From the 1800’s, it’s a good bet too that the colours were created with natural dyes. Though synthetic dyes were first being produced around 1856, these people were highly unlikely to have access to them. I think too that the panels were worked by several embroiderers and then pieced together, as there are mismatched seamlines, different qualities of stitch, and more simplified areas, none of which detracts from the beauty of this. (AHA> i was correct: http://www.marlamallett.com/suzanis.htm )

It’s also huge, given the fact that it’s handwork, a whopping 5foot4 by 8foot4! You can see the whole, and more detail here.

As to the “brakes” and “park”, i am making myself stop looking at photos and sites, and doing the work these inspire. Since i intend to mount the pieced chunk i’ve been working on (previous posts) on a background, i thought this stitch would make a lovely addition and emphasis/accent to that.

HA. Buttonhole stitch is one of the easiest to do, probably one of the first every embroiderer learns in the beginning. To get the effect and look however of that above? Well, firstly, take a look at the size of those stitches in relation to the weave of the fabric used. MIN IS CULE. I mean practically microscopic! I tried to be as tiny as possible with the finest cotton thread i had (one i intend to dye) and still couldn’t get the effect i wanted, with that defined line along the edge of each row. Nope. I *might* be able to do it with a silk thread, but have realized that much effort is not worth my time. I had intended to do only rows, not massed coverage BUT! These extremely skilled artists have a phenomenal talent and infinite patience!

A valuable lesson learned about threads as well: the type, twist and fineness does not guarantee an effect. My cotton thread, while “perfect” was also too rigid to get the fluidity and “spread” i needed; a silk would “fluff” more, even as a fine thread. (Wool of course is the best for that.) I’ll still dye it, as different weights and plies are wonderful for accenting certain stitches or creating different textures, but will be passing on the miles and weeks of trying to cover a large area this way. Using a variety of threads can have very interesting outcomes:

Same stitch above, different weights and fibres, from the first FrankenStitch course i taught online in 2011.

Thinking now that the background will be treated somewhat like i did “Instinct” with the rows of straight stitch:


EDIT: Didn’t win the lottery, so will have to content myself with wiping the drool off the monitor once in awhile…….

Posted in a collusion of ideas, journal: lessons to learn

cultural influences and inspiration

I’m not going to call any of this “cultural appropriation”. I don’t think it is–i’m not about to swathe myself in tribal embroideries, pretend i’m actually an Uzbeki “princess” and swish downtown to pose………..

AHEM. I’m going to stall myself if i’m not careful: I could spend WEEKS looking online at ethnic embroideries, and have in fact, spent probably at least 28 hours doing just that. Calgary not being a hotbed for embroidery of any sort means most of my research has to be online–even the public library has little to offer–i have requested the two books available on the subject!

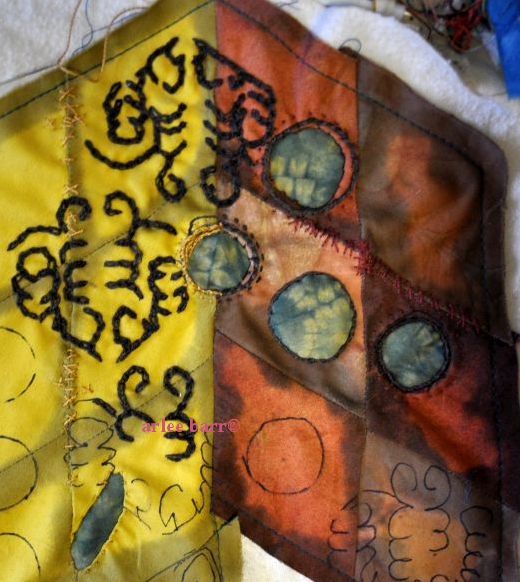
Yesterday it was this far along:

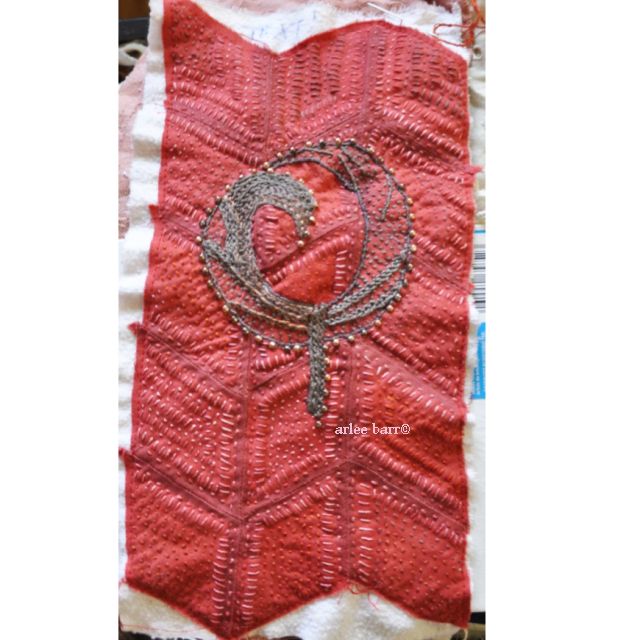
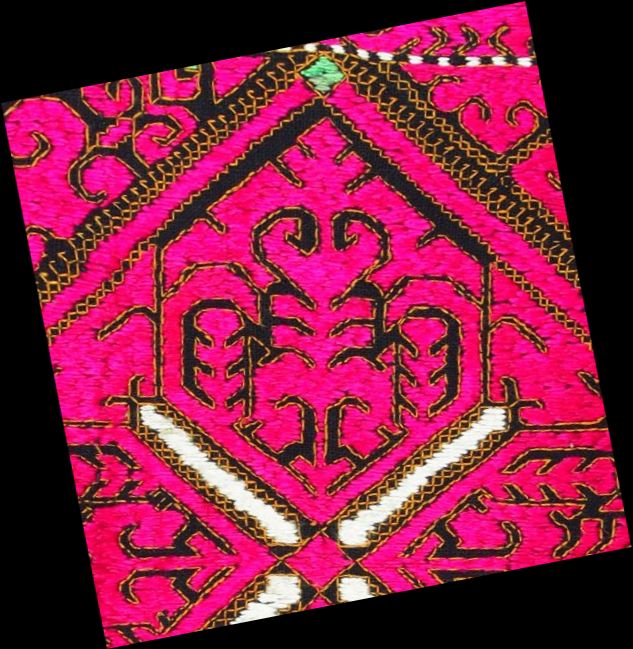
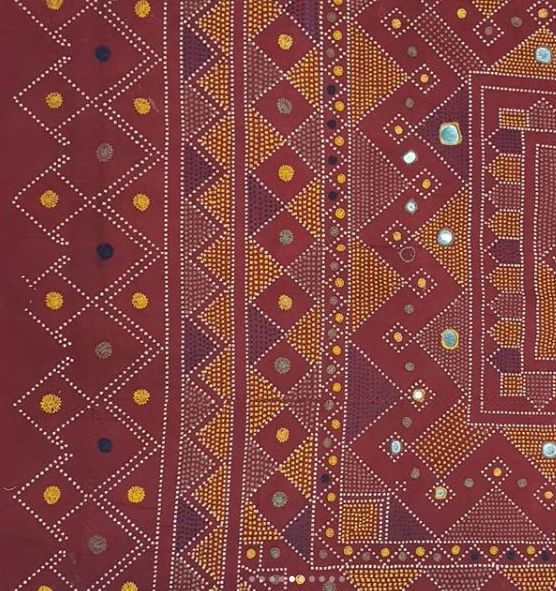
I took the centre motif from this Swati work:

adapting freely, extrapolating and morphing as i went. Upside down, broken, halved, why not?

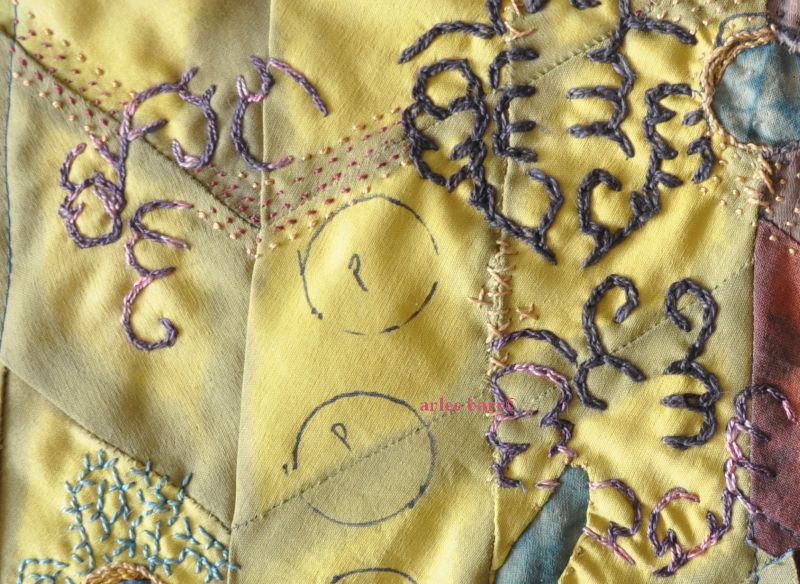
The heavy cochineal and iron modified cotton thread was a pain to get through the seamed areas, so this morning i switched to a cochineal and iron post modified space dyed silk. I like the way it changes colour haphazardly, as if it is fading (it’s not!) or more worn. It’s my thought that this should not be an obviously brand spanking new looking piece, hence the loose stitches along seamlines and the mended hole near the bottom, where i actually tore it when stitching together…..

I’m constantly distracted with this one, thinking of things i can do/add to it. It’s easy to either go overboard, or add things that don’t fit or work.

This morning too was spent looking at other types of tribal embroideries, resulting in a focus on Suzani work……so that is what this is going to be-ish. Though there are also a few tiny elements of Rajasthan in there with the tiny yellow dots….

Hell, it’s a mish mash, but whatever, it’s working for me 🙂 Let’s just say it’s the Everything of these, not one specific thing.

A large, hand-embroidered textile panel; the word comes from the Persian (Farsi language) word suzan, which means needle.  Suzani are more organic than the Swati embroideries, fewer formal repeats though definitely pictorial, and have more colour used. The originals are done with only 4 stitches, a chain (sometimes done with a tambour hook), ilmok (double buttonhole stitch), basma (a form of couching over lines or satin stitch, also known as Bokhara couching) and kanda khayol, a slanted couching stitch like Romanian couching, although i’ve found too many “definitions” of what these are to be sure! Best explanation/source for that was this site.

I already know this will be mounted, but i’m not sure yet what gets added next, letting it go where it wants as the vasty brain trips wires and causes small explosions.

Edit: I’ll be adding this to my side bar as well, as Textile Techniques. https://trc-leiden.nl/trc-needles/techniques/embroidery/embroidery-stitches